How to Measure for Kitchen Cabinets: A Step-by-Step Guide for Huntsville Homeowners
Before your dream kitchen can take shape, it needs a strong foundation, and that starts with accurate measurements. Whether you live in a historic home in Five Points or a newer build in Madison, measuring your kitchen correctly is essential for planning a successful cabinet installation. At Cabinet IQ of Huntsville, we rely on these details to provide a design and estimate that match your space exactly.
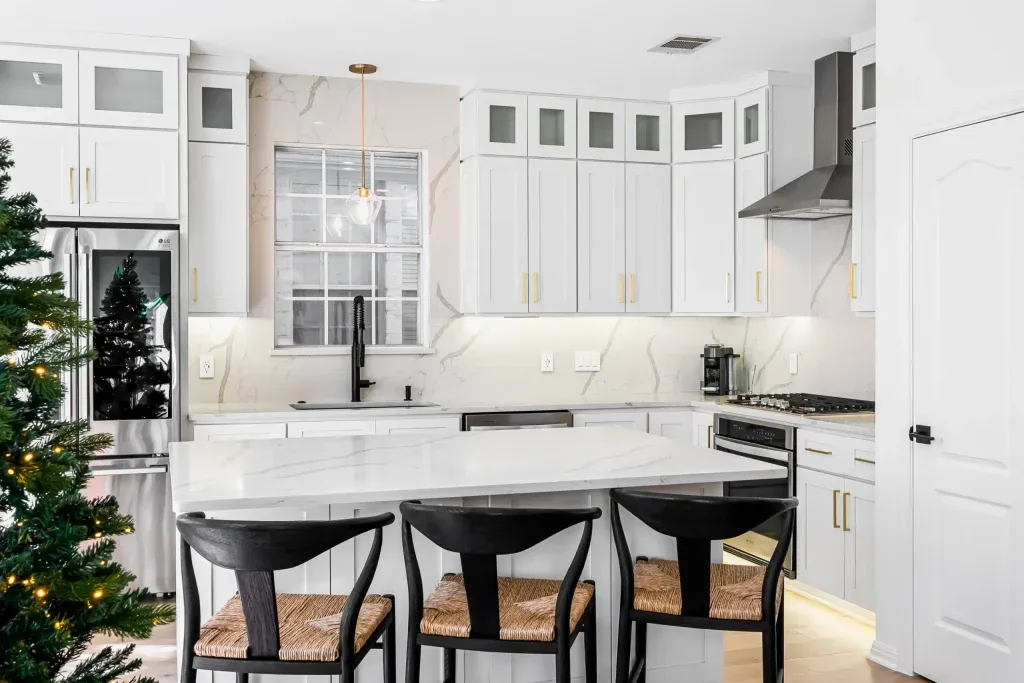
Before your dream kitchen can take shape, it needs a strong foundation, and that starts with accurate measurements. Whether you live in a historic home in Five Points or a newer build in Madison, measuring your kitchen correctly is essential for planning a successful cabinet installation. At Cabinet IQ of Huntsville, we rely on these details to provide a design and estimate that match your space exactly.
To help you gather the right information, we’ve created a simple guide based on our in-house measurement guide. By following the steps below, you can prepare a floor plan that gives our designers everything they need to get started.
What You Need Before You Start
Before measuring, collect a few basic tools to make the process smoother. You will need a tape measure, a pencil and eraser, and a straight edge or ruler. Use graph paper or the floor plan design grid provided on the last page of our guide. If you have a smartphone or camera, take photos of the room to give your designer additional context.
These items will help you stay organized and ensure your notes are easy to understand.
Step 1: Draw the Space
The first step is drawing a simple outline of the room where you want new cabinets. Use the floor plan design grid included in our guide for this sketch.
Include every wall that will have cabinets, along with all windows, doors, and any other room openings. There is no need to draw it to scale. What matters most is that you clearly mark all elements that are present in the space.
This step creates the base for recording your measurements. Even if something seems minor, like a small opening or trim detail, include it in the drawing. These features can influence the cabinet layout.
Step 2: Measure the Space
Once your drawing is complete, begin measuring each wall that will hold cabinets. Record these numbers on your floor plan. Make sure all measurements are taken in inches and rounded to the nearest quarter inch for consistency.
Next, measure each window, door, and opening in the same way. Note the width and height, and record the distance from the nearest corner or adjacent wall. Include the height from the floor to the top and bottom of each window or door.
If possible, measure the ceiling height from the floor up. This detail can help determine the best cabinet height for your room, especially in spaces with tall or sloped ceilings.
The more complete your measurements are, the easier it is for your designer to work with your space accurately.
Step 3: Add Notes for Accuracy
Label all walls and elements directly on your drawing. For example, you might mark a window as “36 inches wide, 40 inches from left wall, 60 inches from floor to top.” Keep your notes clean and easy to read.
Be sure to check for common obstacles such as soffits, ceiling beams, or unusual wall angles. These details may not be obvious in a simple drawing but can affect cabinet placement during installation.
Also note any built-in appliances that will remain, such as ranges or dishwashers, so we can factor them into your cabinet layout.
Step 4: Include Utility Locations
Cabinets must work around your home’s plumbing and electrical systems. On your sketch, note the location of sinks, gas lines, water lines, electrical outlets, switches, and vents. If you have HVAC elements like returns or floor vents in the kitchen, mark those too.
In homes around Blossomwood or Twickenham, older layouts may not follow today’s standard spacing for outlets or plumbing, so these details are especially important.
The more accurate your notes are, the better we can plan for a design that fits the existing space and avoids unnecessary changes during installation.
Step 5: Take Reference Photos
Though not part of the written measurements, photos are very helpful for the design team. Take a few pictures of each wall in the kitchen. Make sure they are well lit and include any unusual features, like dropped ceilings, beams, or cutouts.
If something in your kitchen looks unique or difficult to describe, take a close-up photo and write a quick note on your floor plan to explain what it is.
Photos help our designers visualize your kitchen and avoid surprises later in the process.
Final Review Before Your Consultation
After you finish your sketch and measurements, double-check everything. Look for missing items or unclear labels. Review your numbers and make sure they match what you recorded on the drawing.
Once everything is complete, bring your measurements and floor plan to your consultation at Cabinet IQ of Huntsville. You can also email them in advance so our designers can review your layout and prepare suggestions before your visit.
Need Help Measuring?
If you would rather have a professional take care of the measuring process, we also offer in-home measurement services. One of our team members will visit your home, take all necessary measurements, and prepare an accurate layout for you.
This is a great option for homeowners in neighborhoods with more complex layouts or older homes with architectural quirks.
Start Your Remodel with Confidence
Accurate measurements make all the difference when it comes to a smooth remodeling experience. Whether your kitchen is traditional, modern, or somewhere in between, starting with the right floor plan allows your design to come together efficiently and accurately.
Visit Cabinet IQ of Huntsville or contact us today to schedule your design consultation. With your measurements in hand, we will help bring your kitchen vision to life.