Caring For And Cleaning Your Painted Kitchen Cabinets
Painted kitchen cabinets command attention—both for their impact on your kitchen’s appeal and for the level of daily care they require to stay pristine. Unlike PVC, foil, or laminate, painted finishes are more than color; they’re a blend of artistry and engineered protection for your kitchen’s busiest surfaces. Over time, surface shine, edge crispness, and […]
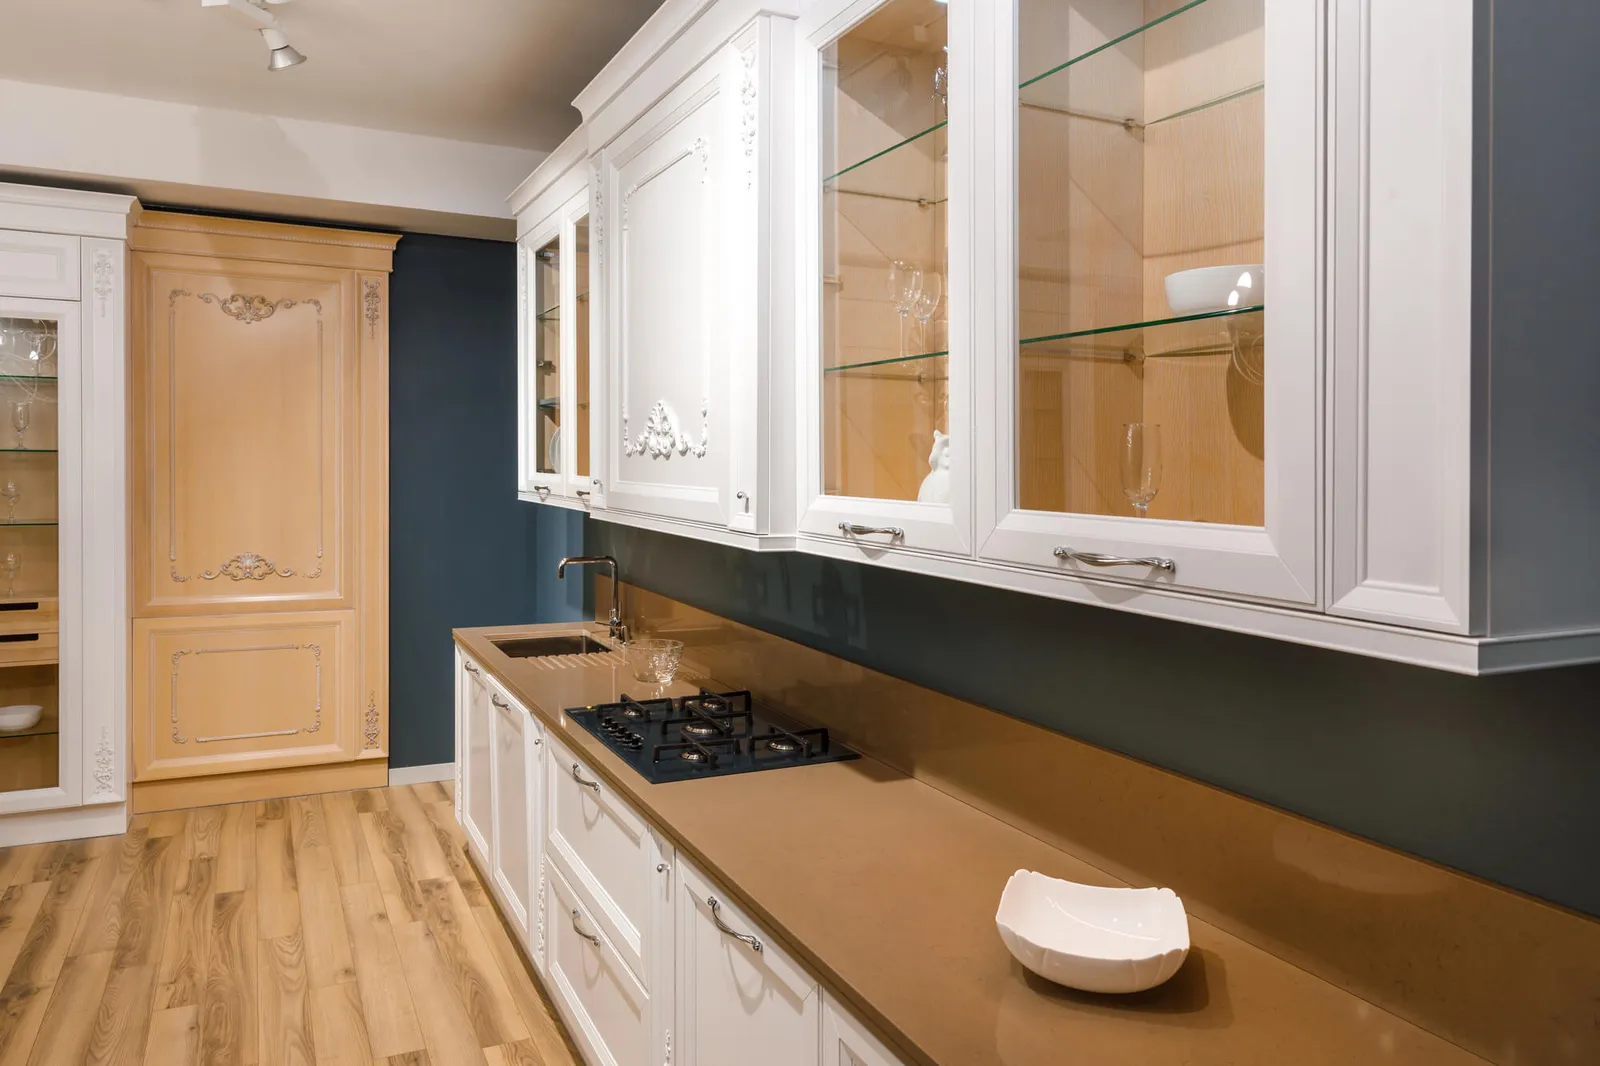
Painted kitchen cabinets command attention—both for their impact on your kitchen’s appeal and for the level of daily care they require to stay pristine. Unlike PVC, foil, or laminate, painted finishes are more than color; they’re a blend of artistry and engineered protection for your kitchen’s busiest surfaces. Over time, surface shine, edge crispness, and even the fit of doors reflect your approach to care more than the initial installation itself.
Design-conscious homeowners, architects, and investors know that surface value isn’t just about aesthetics, but about long-term kitchen value, hygiene, and even future resale. Maintaining your cabinets is not about over-complicating routines or costly specialty products, but about consistent, evidence-based habits that work with the paint’s chemistry and your kitchen’s unique realities. Early, regular attention reduces the risk of dulling, chipping, or bubbling—saving money and eliminating hassle before it starts.
Proactive cleaning, backed by expert knowledge and the right tools, ensures every painted surface retains its allure and function for years, reflecting not only personal taste but also practical wisdom.
“Prevention is less expensive than repair and far more rewarding in the rooms where life happens most.”
Expert-Endorsed Cleaning Products And Tools
Selecting cleaning agents and equipment for painted kitchen cabinets isn’t a guessing game; it’s a matter of science and warranty protection. The durability of cabinet paint hinges on balancing cleaning power against finish safety. Kitchen Cabinet Manufacturers Association (KCMA) guidance and paint finish suppliers are unanimous: pH-neutral, non-abrasive, and water-based products are safest.
Top Choices And Pitfalls For Painted Cabinets
- Soft Towels: For safe and effective care, always choose soft microfiber or lint-free towels, as these materials trap particles, prevent micro-scratching, and help preserve the surface’s natural gloss.
- Mild Cleaners: Clean with a diluted, pH-neutral dish soap or a cleaner approved by the manufacturer—never use undiluted solutions.
- Unnecessary Roughness: Most importantly, avoid abrasive tools like rough sponges, steel wool, or “magic” erasers, even for stubborn spills or stains, as they can permanently damage the finish.
High-strength chemical cleaners (including ammonia, chlorine, and strong degreasers) attack both pigment and underlayment, accelerating color fade and finish breakdown. When in doubt, check with your cabinet installer or refer to your warranty documentation.
Quick Table: Safe Vs. Harmful Cleaning For Painted Cabinets
| Cleaner/Tool | Safe | Risk Level if Misused | Note |
| Mild dish soap (diluted) | Yes | Low | Best for everyday spills |
| Microfiber towel | Yes | None | Replace regularly |
| All-purpose spray | No | Medium/High | Avoid unless labeled “paint safe” |
| Magic eraser/abrasives | No | High | Leads to dull/chalky finish |
Setting aside a small caddy labeled “cabinets only” keeps routines easy. One minute spent prepping reduces the cost and effort of repainting by years.
Establishing The Ideal Cabinet Cleaning Routine
Even high-end painted kitchen cabinets suffer from inconsistent routines. The goal is to make routine cabinet cleaning as frictionless and effective as possible, optimized for your household’s specific habits.
Crafting A Routine That Works
- Daily or after visible spills: Use a lightly damp microfiber towel to wipe stains or smudges. Focus on high-risk zones—sink, cooking zones, and impact-prone corners.
- Weekly: Clean all exposed surfaces using a diluted, pH-neutral solution; finish by drying with a soft cloth.
- Monthly: Check all hardware. Tighten loose pulls or hinges. Remove trays and vacuum crumbs from drawers.
- Every quarter: Deep-clean with cabinet-safe polish or conditioner, if recommended. Do a “touch test” for any paint roughness or tackiness, and photograph any changes.
Strong habits built now avoid the “scramble before company” that stress-tests every homeowner. Visible reminders—a printed checklist or app notification—can help align the whole family or tenants on the same page.
Preventing Chipping, Peeling, And Fading: Pro-Level Tactics
The primary enemies of painted kitchen cabinets, moisture, impact, and UV, act slowly, then all at once. Understanding their patterns means you can take simple steps to guard your investment, whether you’re a high-traffic home, a designer managing multiple jobs, or an investor coordinating a rental portfolio.
- To maintain your cabinetry’s integrity and longevity, regularly monitor seam areas near sinks and appliances for signs of swelling or bubbling, especially after heavy use.
- Maintain indoor humidity levels between 40–55% to protect the wood substrate and preserve paint adhesion.
- Equip all cabinet doors with soft-close hardware to minimize impact, reduce wear, and prevent hairline chips, particularly useful for households with children.
- If your kitchen features large skylights, windows, or strong undercabinet lighting, apply UV-filtering film or diffuse natural light to prevent fading and material degradation.
- Finally, attach felt pads or bumpers to high-impact corners and edges to safeguard against daily wear and minor collisions.
“Cabinets that look new at appraisal didn’t get that way by accident—they got that way because risk was managed before it became visible damage.”
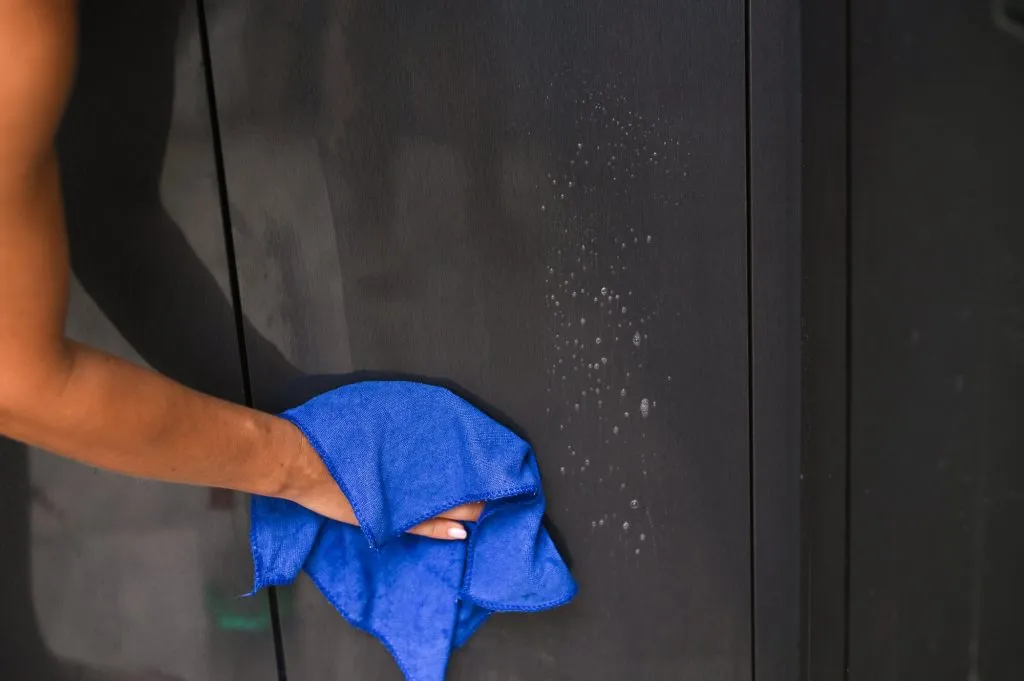
Tackling Grease, Stains, And Watermarks—Limits And Solutions
No kitchen, no matter how carefully managed, escapes occasional stains. Whether it’s olive oil after a busy dinner, splattered tomato sauce, or a forgotten mustard drip stain, the speed and method of your response matter more than special products or tools.
Action Plan For Stain Removal
- Start by gently blotting, never rubbing, as this contains both grease and dyes.
- Use a very mild, well-diluted soap solution on a microfiber towel; apply in a circular motion.
- For stubborn or older marks, try a touch of baking soda paste; test first inside a cabinet. Rinse away all residue and dry completely after.
Never escalate to rough sponges or unknown chemical sprays; many “miracle” products break down not just the stain but the entire paint layer.
Cabinet Stain Response Guide: From First Aid to Escalation
| Stain Type | Initial Step | Escalate if No Resolution |
| Oil/Fat | Dab + soap/towel | Professional degreaser, warranty support |
| Wine/juice/coffee | Baking soda paste | Manufacturer-approved stain remover |
| Repeat marks | Review environment| | Possible venting or hardware adjustment |
Small investments in correct technique prevent the biggest repair bills.
Preventing And Repairing Physical Damage
Physical damage to kitchen cabinets often accumulates slowly and is rarely noticed until a visible problem emerges. From kids slamming a cabinet door after snacks to misplaced step ladders during painting, prevention starts with clear expectations and consistent kitchen cabinet cleaning habits. Keeping cabinet surfaces free of grime, grease buildup, and food spills helps protect both painted and wood cabinets, ensuring the cabinet finish stays strong over time.
Daily & Seasonal Strategies
•Encourage everyone in the household to close cabinet doors and drawers gently. If you notice frequent slamming, consider soft-close conversion kits to protect wood surfaces and reduce long-term stress. Combined with regular cleaning kitchen cabinets routines—such as wiping with a microfiber cloth, damp soft rag, or sponge—you can prevent grease and grime from wearing down the finish.
• Every few months, tighten handles, inspect hinges, and remove dust or residue that settles on cabinet surfaces. A spray bottle with warm water and mild dish soap is often the safest way to clean cupboards without damaging the cabinet finish. Avoid harsh chemicals or ammonia that can dull painted or wood cabinets.
• For families or rental properties, keep a small touch-up kit on hand near your sink or cleaning supplies. Include a magic eraser for stubborn grease spots (used lightly), a low odor cleaner such as diluted white vinegar, and oil soap for deeper wood cleaning. This makes it easy to address dirty areas, greasy cabinets, or cooking messes before they spread.
A small, timely repair or quick deep clean can fix scuffs, remove grease, and keep cabinets looking fresh and spotless—especially in high-use kitchens where pans, food, and daily cooking create recurring cabinet door smudges and residue.
When To Seek Professional Input
Escalate to a pro or your cabinet maker if:
• You notice swelling, bubbling, or wood softness beneath paint or the cabinet finish—often signs that moisture or cleaning agent misuse has affected the wood.
• Paint flakes off in sheets or cracks continue spreading even after you clean and dry the area.
• Multiple issues cluster in one part of the kitchen, such as persistent greasy residue or moisture problems near the stove or dishwasher.
Documenting issues early with photos helps maintain warranty eligibility and ensures a faster response. Professionals can evaluate whether improper cleaning, water intrusion, or structural design is contributing to damage.
DIY Repairs vs. Warranty Claims: Making an Informed Choice
Light cabinet repairs can feel empowering, but going beyond simple cleaning or tightening hardware can void warranties. Knowing the best way to clean and the limits of DIY helps you protect your investment.
Task Breakdown: DIY or Call in the Pros?
- • For minor surface marks or micro-scratches: Use factory-supplied touch-up paint and gently clean the area first with warm water, mild soap, or white vinegar diluted in a spray bottle. Wipe with a microfiber cloth or paper towel—never bleach or harsh cleaners.
- • For hardware adjustments: Tighten screws with hand tools and make sure drawer slides stay clean and free of dust or grime.
- • For recurring marks or greasy residue that reappears even after a deep clean: Document the issue. This may indicate ventilation or moisture challenges rather than a simple cleaning job.
- • For any bubbling, swelling, or color shift across several panels: Do not attempt DIY fixes. These deeper issues require a certified repair technician.
Manufacturers prefer early contact, routine logging, and no home-remedy shortcuts. Using the wrong cleaner, scrubbing too hard with a scrub brush, or applying oil soap incorrectly can create residue, damage the finish, and complicate any warranty claim.
Book A Consultation With Cabinet IQ Today
With so many variables—installation quality, humidity, cabinet finish type, routine cleaning habits, and daily traffic—it’s hard to know whether your cabinets are aging naturally or suffering preventable damage. The best way to protect your cabinets, countertops, and the life of your kitchen is through proper care and expert advice.
At Cabinet IQ, we offer more than cabinets and countertops. We deliver a full design-to-install experience, complete with detailed 3D renderings, a transparent budget estimate, certified installers, and a 57-point quality assurance process. You’ll always know what comes next—and how to keep your cabinets polished, protected, and looking their best for years to come.
“The highest design and investment value in a kitchen isn’t engineered after a problem—it’s earned through the right partnership from the start.”
Your next step toward flawless cabinetry and seamless kitchen function is a conversation away. Talk to an expert, protect your design, your time, and the reputation of every project or property you manage.