How to Remove a Tile Backsplash in Kitchen in Simple Steps
Tile backsplashes are a fantastic way to enhance the aesthetics of your kitchen or bathroom while providing protection to your walls against water and impact. However, there may come a time when you need to get rid of or replace your kitchen tile backsplash. Whether you’re redecorating or facing damage, knowing how to do it […]
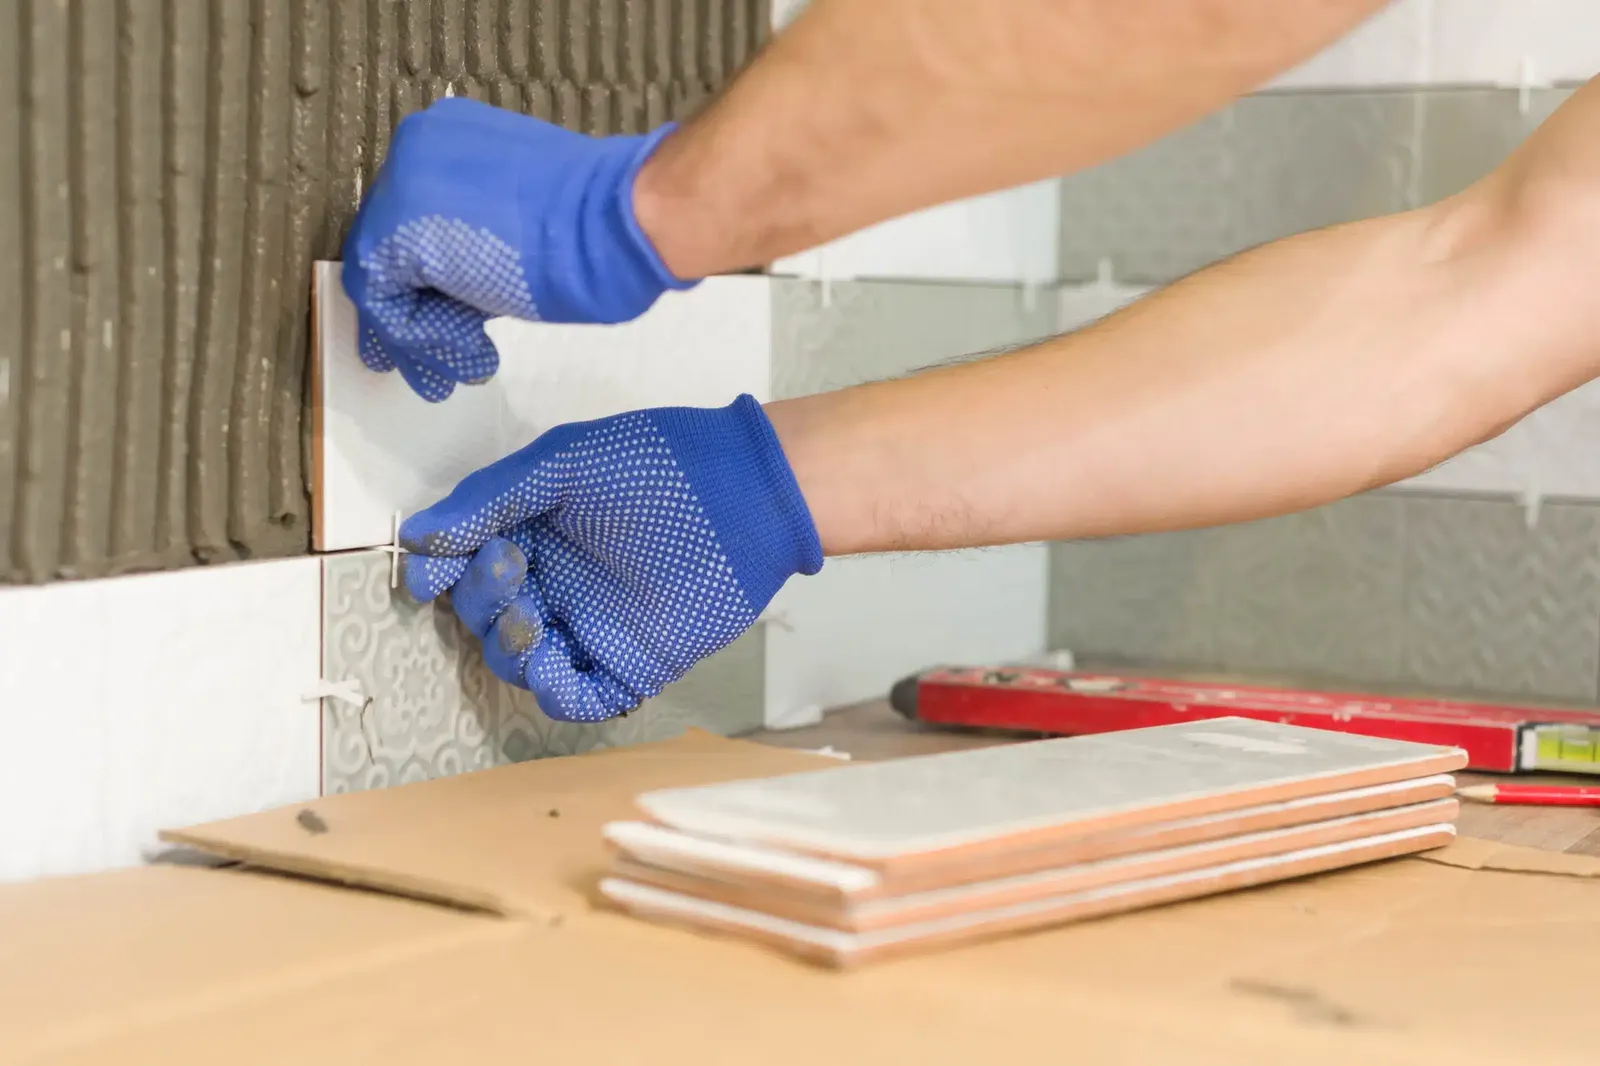
Tile backsplashes are a fantastic way to enhance the aesthetics of your kitchen or bathroom while providing protection to your walls against water and impact. However, there may come a time when you need to get rid of or replace your kitchen tile backsplash. Whether you’re redecorating or facing damage, knowing how to do it efficiently can save you time and money. In this guide, we’ll walk you through the process of removing a tile backsplash while minimizing damage to your walls.
Understanding the Basics
Before you begin the task of how to remove the backsplash tile, it’s crucial to understand that tile backsplashes are typically attached to the drywall using thinset, which is a robust mortar. This adhesive is more like cement than regular glue, making the tile removal process somewhat challenging. Your goal is to break the bond between the tile and the drywall.
Safety First
Safety should always be your top priority when working on a project like this. As you remove tiles, sharp, glass-like tile shards can become projectiles, posing a significant hazard. Make sure to follow these safety precautions:
- Wear safety glasses or goggles to protect your eyes.
- Use thick gloves to shield your hands.
- Dress in long-sleeved clothing, pants, and sturdy boots or shoes to prevent injuries.
- Regularly pick up fallen tiles to avoid accidents due to slipping.
Tools and Materials You'll Need
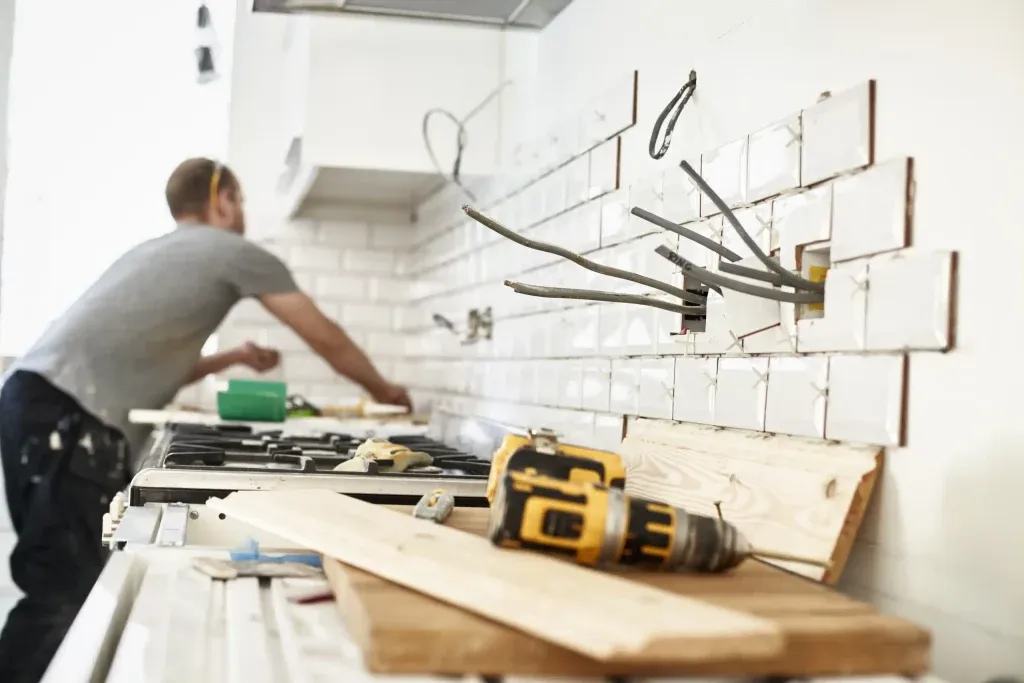
Before you get started on how to remove tile backsplash in the kitchen or bathroom, gather the necessary tools and materials:
- Equipment / Tools:
- Caulk removal tool
- Electric oscillating multi-tool
- Multi-tool grout removal blade
- 4-inch drywall knife
- Putty knife
- Hammer
- Screwdriver
- Grout removal tool (optional)
- Shop vacuum with filter
- Pry bar
Materials:
- All-purpose drywall joint compound (premixed)
Removing Tile Backsplash - Step by Step
Now that we’ve explored the advantages and considerations, you may wonder if using the same old backsplash and counter top is indeed the perfect combination for your home. The answer depends on your individual preferences, budget, and the specific needs of your space.
It’s essential to weigh the pros and cons carefully and consult with a design professional if necessary. Remember that there is no one-size-fits-all solution, and the ideal choice is the one that aligns with your unique vision and lifestyle.
1. Always Start with the Tile
Your first step and initial approach should be to attempt to remove the tile backsplash from the wall. If the tiles were not excessively adhered, they should come off relatively easily.
2. Turn Off Electricity
Before proceeding with how to remove old tile backsplash in the kitchen, shut off the electricity to the backsplash area by turning off the circuit breaker at the electric service panel. This step is crucial, as multiple cables may run behind the wall.
3. Protect the Surrounding Area
To minimize mess and prevent tile shards from scattering, take the following precautions:
- Place stoppers in the sink to prevent tiles from entering the drain.
- Cover your countertops with cardboard and secure it with tape.
- Lay plastic sheeting on the floor, taping it around the work area.
4. Remove Obstructions
Using a screwdriver and pry bar, remove non-tile obstructions, such as outlet or light switch faceplates, blank faceplates, and any wood or PVC trim. If the tile backsplash extends up to wall cabinets, consider removing the cabinets to gain better access.
5. Eliminate Caulk
With a caulk removal tool, scrape away the caulk between the tile backsplash and the countertop.
6. Loosen Grout
Attach the multi-tool with the grout removal blade. Turn on the tool and run the blade along each of the grout lines between tiles. The goal here is to sever the bond between adjacent tiles rather than removing all of the grout. Minimize the mess by holding the shop vacuum’s nozzle under the multi-tool blade.
7. Remove Border Tiles
The tile backsplash may be bordered by various tile perimeters, such as listellos, ropes, quarter-rounds, pencil liners, or more. To break the bond between the border tile and the wall, force the stiff putty knife or drywall knife blade behind it.
8. Remove the First Tile
Starting at the top row of tiles, hold the drywall knife or putty knife against the top of the tile where it meets the drywall. Gently tap the tool with a hammer or rubber mallet to force the blade between the tile and the wall. Sometimes, the tile will fall off with just a few taps, while other times, it may break and need to be chipped off in pieces.
9. Remove Remaining Tiles
Continue downward, removing one tile at a time until the entire kitchen backsplash is clear.
10. Scrape Away High Sections
After removing the tile backsplash, you’ll likely find raised sections of thin-set remaining on the wall. Use the putty knife or drywall knife to scrape away these sections. Maintain a low angle when scraping.
11. Repair Low Sections
You may encounter grooves, scrapes, holes, and other low sections on the drywall due to the removal process. Here’s how to address them:
- Fix low scrapes with a pass of drywall joint compound using the drywall knife. Usually, one skim coat will suffice for shallow scrapes.
- For small holes, fill them with the drywall knife and all-purpose joint compound. After about an hour, check the fix, and if needed, apply another coat of joint compound.
- Large holes in the drywall can be fixed by squaring the hole, cutting a piece of scrap drywall to the same size, backing the edges with plywood strips, and finishing with drywall tape and joint compound.
Removing Tile Backsplash Along with Drywall
If the tile backsplash is firmly attached, especially if it was glued, it may be easier to remove the drywall along with the tile. Follow these steps:
1. Secure the Area
Turn off the electricity and shut off the water to the backsplash area. Remove outlet and light switch faceplates and other obstructions.
2. Remove Borders
If you can, remove any perimeter materials to provide better access to the tile. If not, leave them in place, but do not remove or loosen the tile grout.
3. Mark Studs
Use a stud finder to identify and mark the location of each stud behind the backsplash.
4. Mark Depth on Multi-tool Blade
Using an indelible marker or painter’s tape, mark 1/2-inch inward from the cutting edge of the multi-tool blade.
5. Cut Drywall Around Tile Perimeter
Use the multi-tool to plunge-cut the drywall perimeter around the tile backsplash. Work slowly and carefully, stopping the cut at 1/2-inch deep to avoid damaging the insulation on exterior walls or contacting wires and pipes. Be especially cautious when cutting over wall studs.
6. Begin Prying
Insert the pry bar into the cut at the top of the backsplash, directly above a stud. Start at one end, slipping the pry bar down until it meets resistance above a drywall screw or nail. Gently pull back on the pry bar to release the drywall from the fastener.
7. Finish Prying
Continue working horizontally, moving from one end to the other. Once you reach the last wall stud, return to the first stud and proceed to the next fastener. Typically, each eight-foot section of countertop will have six to seven studs behind it.
8. Remove Backsplash and Drywall
Enlist the help of an assistant to remove the combined tile/drywall backsplash section, as it will be heavy.
9. Measure Drywall Patch Area
Measure the area where the drywall needs to be replaced. A single sheet of 4-foot by 8-foot 1/2-inch drywall should suffice to cover 16 linear feet of removed backsplash (minus the two 4-inch tapered drywall edges).
10. Replace Drywall
Cut the drywall to the appropriate size using a utility knife, secure it in place with drywall screws, and apply tape and drywall joint compound to the edges. Finish the job with two coats of drywall primer.
Final Thoughts
The process of removing a tile backsplash, whether in your kitchen or bathroom, requires a systematic approach to minimize damage and ensure safety. This guide has outlined the necessary steps, tools, and safety precautions for a successful removal process. Whether you’re renovating or replacing your tile backsplash, following these guidelines will help you complete the task efficiently and protect your walls, setting the stage for your next home improvement project.
Frequently Asked Questions About Removing a Tile Backsplash
Q: What’s the first step in removing a tile backsplash?
A: Always start by removing one tile from the kitchen tile backsplash using a putty knife and hammer. If it resists, score the grout lines first to separate adjacent tiles.
Q: How do I protect my countertops during the removal process?
A: Cover countertops with cardboard and secure plastic sheeting over cabinets and floors. This prevents damage from broken tile shards and minimizes cleanup.
Q: What tools are essential for tile backsplash removal?
A: Necessary tools include:
- Putty knife and drywall knife for prying
- Rubber mallet to tap tiles loose
- Grout removal tool or oscillating multi-tool with blade
- Safety glasses and thick gloves
- Shop vacuum to clean debris
Q: How do I avoid damaging drywall when removing an old backsplash?
A: Work carefully with the putty knife at a low angle. For stubborn thin-set or mastic, apply joint compound to soften adhesive. Remove small sections at a time to minimize damage.
Q: What should I do if tiles won’t budge?
A: For firmly installed mosaic tile backsplash or tiles with thick thinset, try:
- Cutting grout lines deeper with a grout saw
- Using a chisel and hammer for corner tiles
- Removing drywall with tiles attached (replace with new drywall afterward)
Q: How do I repair large holes after tile removal?
A: For large holes:
- Square the edges
- Back with wood strips
- Patch with drywall joint compound
- Sand smooth once dry
- Apply primer before installing new backsplash
Q: Can I reuse old tiles for a new backsplash?
A: Rarely. Most tiles break during removal. Save intact tiles as spares, but expect to use new tiles for a seamless installation.
Q: Should I hire a general contractor for this project?
A: Only if:
- Dealing with exterior walls or complex electrical in the backsplash area
- Uncomfortable handling tools like an oscillating multi-tool
- Need to match texture when repairing drywall
Q: How do I clean residual thinset or mastic?
A: Scrape with a putty knife, then sand the surface. For glue residue, use adhesive remover. Always wear safety glasses when scraping cement-based materials.
Q: What’s the trick to removing glass tile backsplash safely?
A: Cover the surface with painter’s tape to hold glass fragments together. Work from edges inward and pull tiles slowly to prevent shattering.
Q: How long does backsplash tile removal take?
A: For a standard kitchen backsplash (10-15 sq ft):
- 1-2 hours to remove tiles
- 1 hour to clean adhesive
- Additional time for drywall repairs if needed