Kitchen Design Checklist: What Must Be Decided Before Remodeling
Before you start any kitchen remodeling project, smart planning is in order. Don’t go only with a general idea of what you would like. A smart remodeling process starts with a checklist that helps you decide how you want your new kitchen to work, how much you are comfortable investing, the broad layout, key appliances, […]
By Jan Rutgers
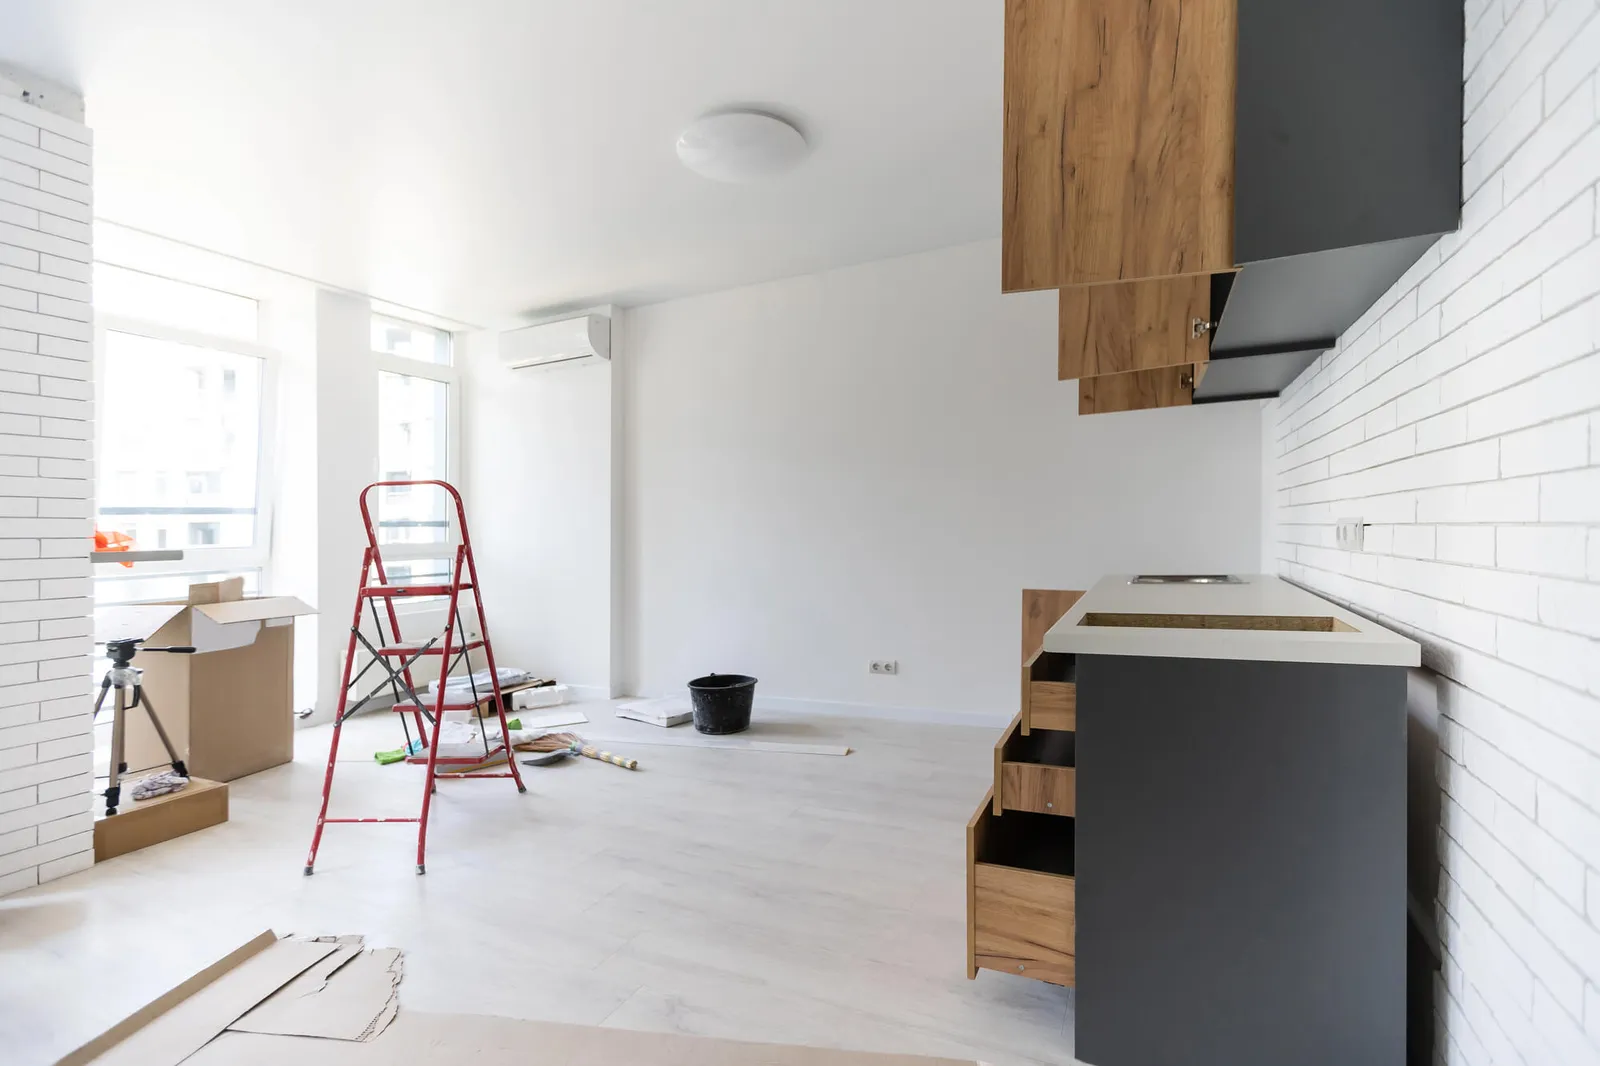
Before you start any kitchen remodeling project, smart planning is in order.
Don’t go only with a general idea of what you would like. A smart remodeling process starts with a checklist that helps you decide how you want your new kitchen to work, how much you are comfortable investing, the broad layout, key appliances, major materials, lighting fixtures, timing, and who will run the project day to day. Putting those decisions in writing turns inspiration into a practical kitchen design checklist that cabinet designers, fabricators, and installers can actually build from.
In this article, we will pose a couple of questions to help you explore all important pre-remodeling considerations regarding your goals and lifestyle, budget and priorities, measurements and constraints, layout and appliances, cabinets and finishes, and finally your timeline and project leadership.
By the end, you will have a clear, homeowner‑ready checklist you can hand to a kitchen designer and installation team during your initial design consultation with confidence.
Have You Defined How You Want Your New Kitchen To Work And Feel?
A great kitchen remodel starts by deciding what your new kitchen must do for you and how you want it to feel, long before you pick a door style or countertop. When you are clear about function and mood, every later choice, layout, storage, lighting, finishes, has a job to do instead of just filling space.
Identify What Isn’t Working in Your Current Kitchen
Begin by looking honestly at what does not work in your current kitchen.
Common friction points include:
- Cramped prep space
- Poor lighting
- Nowhere to drop bags and mail
- Cluttered countertops
Awkward routes between sink, range, and fridge.
Then flip the script and describe what you want instead:
- Easier weeknight cooking
- A comfortable space for guests
- Calmer mornings
- Safer movement for kids or older relatives
- A kitchen that also works as a laptop station during the day
It also helps to capture a few specific answers in writing:
- What are the three most frustrating things about your current kitchen?
- Who uses the kitchen most, and at what times of day?
- Do you want it to feel like a busy family hub or a calmer workspace?
- Which two or three words best describe your ideal style? (For example, “warm modern” or “classic with color.”)
Translate Lifestyle Needs Into Design Requirements
Decide how many people typically cook at once, how often you bake or batch‑cook, whether you work from the island, and how much seating you genuinely use. Make a short list of must‑have functions, such as a clear prep zone, hidden recycling, or a baking station, and a short list of “nice‑to‑haves”.
When you bring this kind of kitchen remodel brief to a designer, they can respond with targeted solutions instead of guessing from a collection of photos.
Have You Set A Realistic Budget And Priorities For Your Remodel?
A kitchen remodel runs much more smoothly when you decide on a total investment, category budgets, and a contingency before you fall in love with finishes. Clear numbers and a distinction between goals and priorities protect you from scope creep and make it easier to compare quotes fairly.
Set a Total Budget
Start with a total amount you are comfortable investing, whether that comes from savings, financing, or a mix. This is the key decision that will strengthen your project parameters before heading into the design process.
Then A Contingency
Then set aside a contingency, often around ten to twenty percent, for hidden issues such as outdated wiring, plumbing changes, or subfloor repairs discovered during demolition.
Treat this contingency as part of the plan, not a worst‑case shock. Professional kitchen remodelers do the same to keep projects moving when surprises appear.
Break Your Budget Into Clear Categories
Next, divide the remaining budget into simple buckets so you can see where the money goes:
- Kitchen cabinets and hardware
- Countertops and backsplash
- Appliances and ventilation
- Plumbing fixtures and electrical work
- Flooring, labor, permits, and professional design fees
Decide What to Protect vs Where to Stay Flexible
Once the buckets are sketched out, decide what you will protect and where you are willing to flex if quotes come in higher than expected. Many homeowners protect layout, storage, and safety, then adjust more decorative choices if needed.
This quick table shows common “protect vs flexible” areas:
| Budget Area | Protect at All Costs | More Flexible Choices |
| Layout & Infrastructure | Safe clearances, proper wiring | Extra layout tweaks |
| Cabinets & Hardware | Sturdy construction, good hinges | Door style, some interior extras |
| Countertops | Reliable work surface at key zones | Edge profile, some color options |
| Lighting & Electrical | Task lighting, enough circuits | Extra decorative fixtures |
| Decorative Finishes | Durable grout/paint in splash zones | High-end tile or specialty accents |
A simple structure like this makes trade‑offs much clearer. When you meet with a kitchen specialist, you can say, “We will not compromise on cabinet quality and safe electrics, but we can adjust decorative lighting or backsplash choices if we need to,” and keep control of the project.
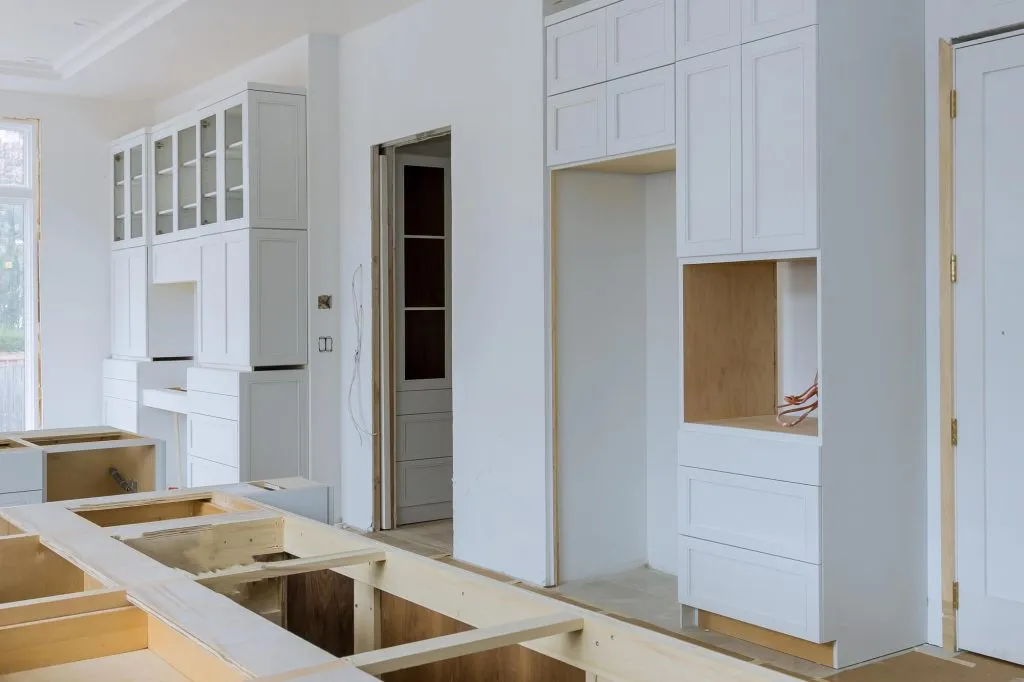
Have You Measured Your Space And Understood Its Constraints?
Measurements are the backbone of any kitchen design. Rough homeowner measurements are perfectly fine for early planning, but final cabinet and countertop orders should always be based on a professional field measure, so clearances and fit are correct.
For your own planning, create a simple sketch and note:
- Overall room length and width
- Ceiling heights in each area
- Window and door widths, heights, and distances from corners
- Positions of soffits, beams, baseboard heaters, bulkheads, and odd angles
Then add the “fixed” features that shape your options:
- Existing plumbing, gas lines, and ventilation routes
- Main electrical panel and obvious wiring runs
- Walls that are likely to be load‑bearing
- Staircases or openings that cannot be moved
Finally, think about clearances, not just cabinet sizes.
Typical targets many kitchen designers work with are:
- Around 36 inches (90 cm) for simple walkways
- Around 42–48 inches (105–120 cm) for the main work aisles where two people pass
- Space behind island stools so people can walk past when stools are in use
Check how far appliance doors will swing, how chairs push back from the table, and whether any door clashes with another. If reading plans or using a tape measure makes you nervous, that is very common.
Many specialist kitchen companies like Cabinet IQ include an in‑home measure visit as part of their process for exactly this reason: it protects you from ordering the wrong sizes and gives the installer accurate information before anything is built.
Have You Chosen a Layout That Supports Flow, Zones, And Safety?
Once you understand the room’s size and fixed features, you can choose a layout that supports how you cook and move, instead of just copying what was already there. A good layout manages traffic, keeps hot and sharp zones out of main walkways, and creates clear areas for prep, cooking, and cleanup.
Compare Common Kitchen Layout Types
Common layout types to consider include:
- Single‑wall or galley for narrower, corridor‑style spaces
- L‑shaped with or without an island for flexible seating and open‑plan rooms
- U‑shaped for maximum storage and continuous countertops
Plan the Kitchen by Zones, Not Just the Work Triangle
Rather than relying only on the old “work triangle,” think in terms of zones:
- Prep: between fridge and sink, with a generous stretch of worktop
- Cooking: around the range or cooktop, with pans and utensils close by
- Cleanup: sink, dishwasher, and waste/recycling together
- Food storage: fridge and pantry, ideally near the entry from outside
- Social or beverage zone: somewhere guests can linger without blocking the cook
Test Your Layout With Real-Life Scenarios
Sketch where each zone will sit and imagine real‑world scenarios, for example:
- Someone opens the fridge while another pulls a tray from the oven.
- Children cut through to the back door.
- Guests stand at the island while you plate food.
These mental walk‑throughs often reveal pinch points that are not obvious on a flat plan.
Check Clearances, Door Swings, and Walkways
As you review options, check that:
- Oven, fridge, and dishwasher doors can open fully without hitting each other
- There is a landing space beside every hot surface and the fridge for trays and bags
- Main walkways are not blocked by open appliance doors or barstools
The layout decision on your checklist should name the basic layout type (for example, “L‑shape with island”), target aisle widths, and whether you will include an island or peninsula. That gives a design or installation team a strong framework to refine, instead of asking them to guess how you move through the room.
Have You Selected Appliances And Key Services Early Enough?
Appliances and key fixtures drive many technical decisions in a kitchen. Their sizes, fuel types, and positions affect cabinet dimensions, electrical circuits, ventilation, and plumbing. If you change them late in the process, it can mean reordering cabinets or reopening finished walls.
Lock In Appliance Types, Sizes, and Locations
Aim to decide, at least on paper, the following:
- Range or cooktop plus wall oven, and whether you prefer gas, electric, or induction
- Standard‑depth or counter‑depth fridge, and which way the doors swing
- Built‑in or freestanding microwave, and its exact location
- Single or double dishwasher, plus any wine fridge or beverage center
- Main sink size, bowl configuration, and tap style
- Whether stainless steel appliances are a priority or flexible
Coordinate Electrical, Plumbing, and Ventilation Early
Once the main pieces are chosen, pair each item with the services it needs:
- Dedicated electrical circuits and outlet locations
- Gas connections with safe, accessible shut‑offs (where allowed and applicable)
- Water supply lines, drains, and any required air gaps
- Ducted or recirculating range hood, and where any ductwork will run
Many costly change orders on kitchen remodel projects come from appliance swaps after cabinets have been ordered or rough‑in work is finished. When your checklist locks these choices in early, even as “likely” models with confirmed sizes, you give your designer, electrician, plumber, and countertop fabricator a stable target. That usually saves time, cost, and frustration.
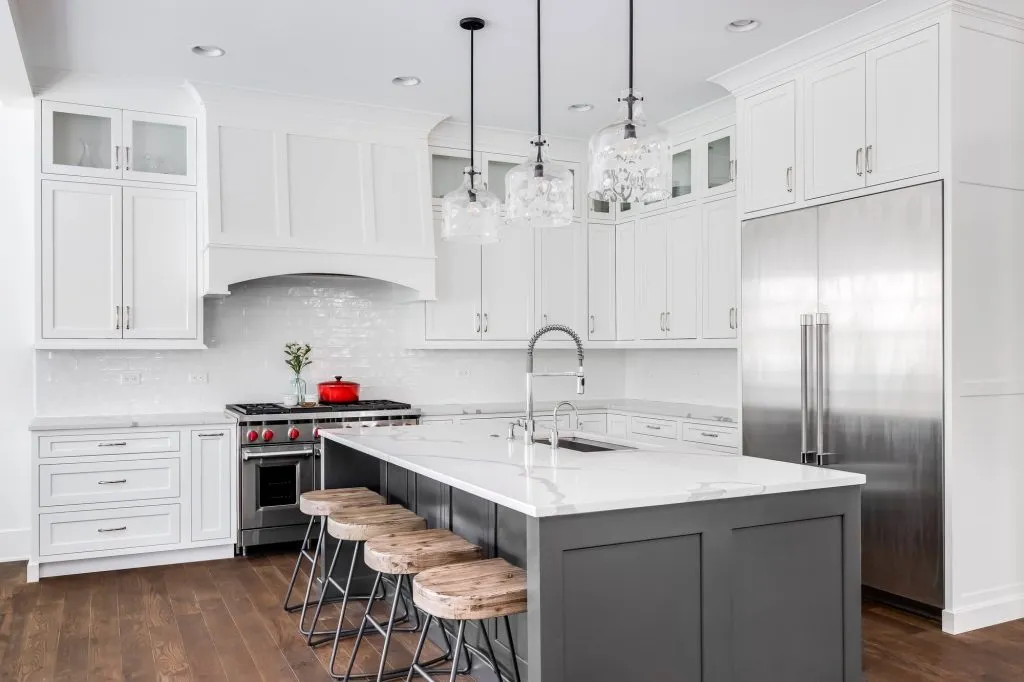
Have You Locked In Cabinets, Storage, Finishes, And Your Project Rhythm?
Cabinets, storage, and main finishes shape how your kitchen looks and functions every day, while your project rhythm, timeline, and who runs what shape how the kitchen renovation or remodel will feel as it happens. Treat both as essential decisions rather than last‑minute details.
Choose the Right Cabinet Category for Your Project
Your first set of choices is about the cabinet line itself:
- Stock cabinets suit simpler layouts and faster timelines
- Custom cabinets give you the most flexibility and a tailored fit
Match Storage Features to How You Actually Live
Next, connect storage features back to the way you said you live:
- Deep drawers for pots, pans, and mixing bowls
- Pull‑out shelves in base cabinets so you are not on your knees reaching the back
- Tall pantry units or pull‑out pantries for bulk items
- Recycling and waste pull‑outs near the sink and prep zone
- Tray dividers, spice pull‑outs, and utensil inserts where they genuinely help
Lock In Major System Finishes First
At the same time, choose your main “system” finishes:
- Cabinet door style and finish family
- Countertop material and thickness
- General flooring type
These affect installation heights, overhangs, and transitions to nearby rooms.
Wall paint, feature backsplash tile, cabinet hardware finishes, and decorative lighting can all follow once the big surfaces are set.
Define Your Timeline and Who Runs the Project
Finally, step back and decide how you want the project itself to run:
- When is the earliest and latest you are comfortable having the kitchen out of service?
- Are there key dates you must avoid (holidays, travel, busy work periods)?
- Will you coordinate trades yourself, or do you want a single team managing design, ordering, installation, and the punch‑list?
Write down your ideal start window, how long you can live with the disruption, and whether you prefer one point of contact or are happy to manage several contractors.
A well‑run kitchen company will use this information to build a realistic schedule and communication plan so you are not left guessing what happens next.
When Should You Bring In A Professional Kitchen Design And Installation Team?
Once you have outlined your goals, rough budget, measurements, layout ideas, appliance choices, and preferred materials, you are ready to turn a personal checklist into a build‑ready kitchen design.
At that point, a professional design and installation team can save you time, protect your budget, and spot risks you might miss on your own.
If you want a guided, lower‑stress path from first sketch to finished kitchen, you can book a consultation to sit down with Cabinet IQ to review your plan with a specialist focused on new cabinets, new countertops, accurate field measurements, and a structured Learn–Design–Install process.
Together, we can confirm what is working, fill in any gaps, and move with confidence toward the kitchen you have in mind.