Cabinet Installation 101: What to Expect
A successful cabinet installation project is probably the upgrade that can have the most impact on a kitchen remodel. However, it takes a lot of work to make it worth the time and money. From improving kitchen layout and functionality to elevating the aesthetic with beautiful cabinets, the process can seem like a daunting task, […]
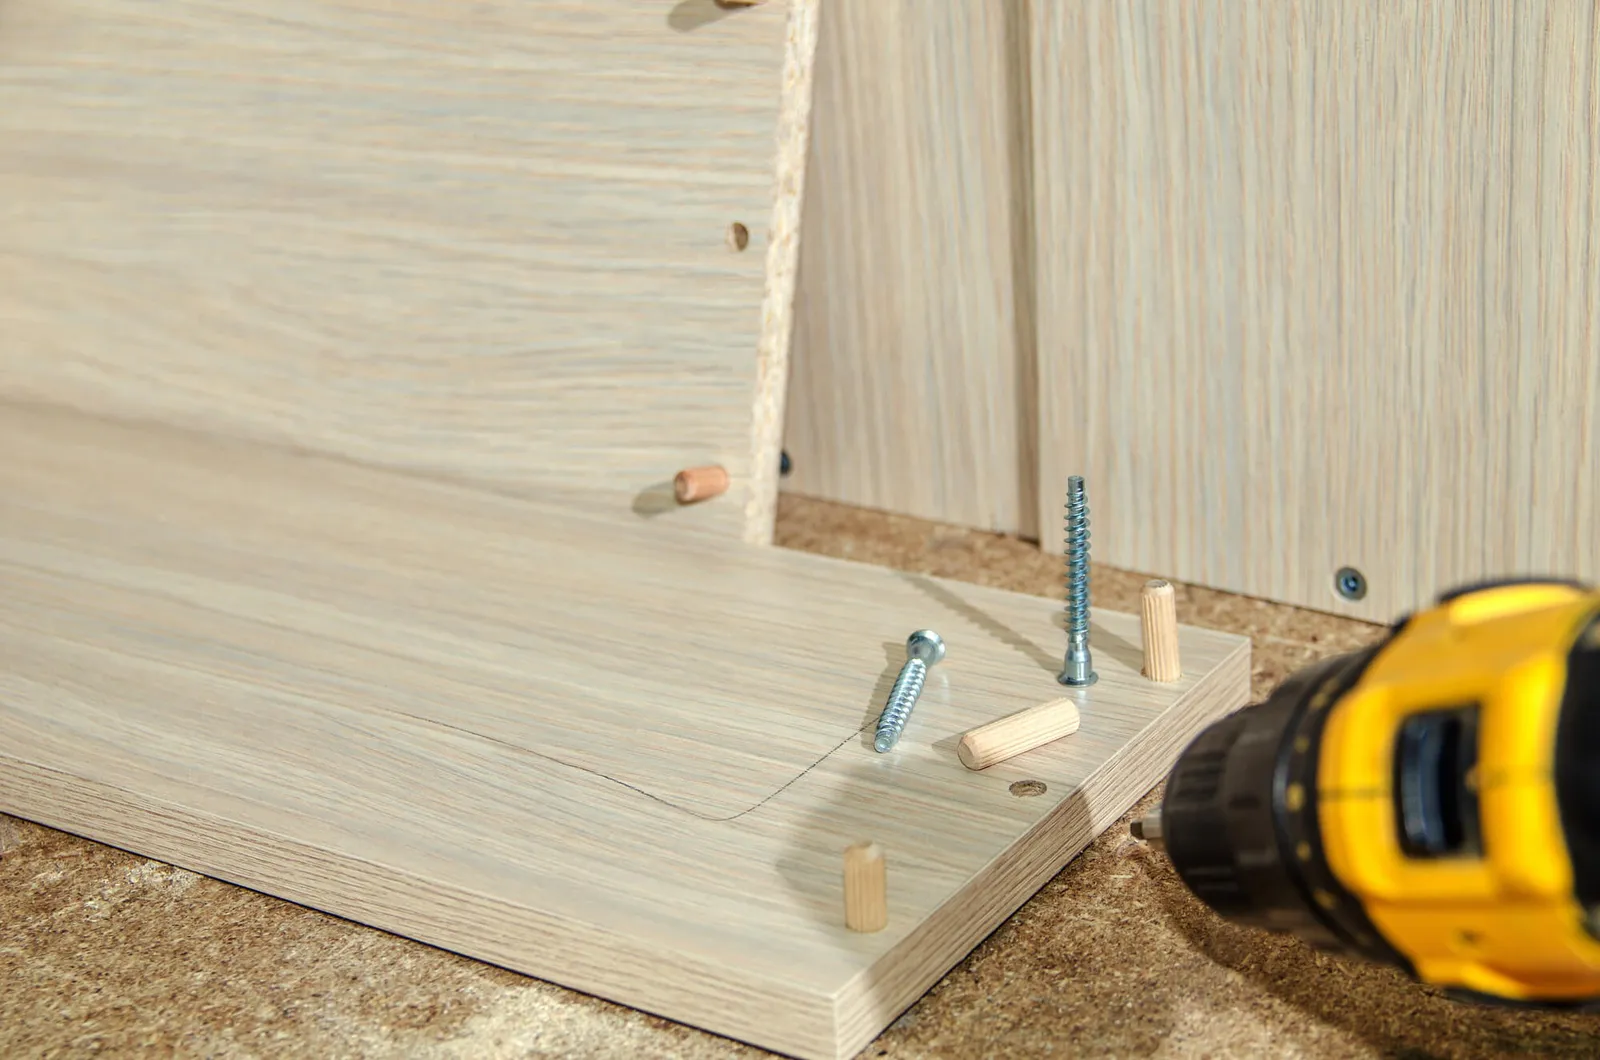
A successful cabinet installation project is probably the upgrade that can have the most impact on a kitchen remodel. However, it takes a lot of work to make it worth the time and money. From improving kitchen layout and functionality to elevating the aesthetic with beautiful cabinets, the process can seem like a daunting task, especially for first-time homeowners.
That’s where kitchen cabinet professionals can come in and make your kitchen cabinet plan into a reality with zero worries.
This comprehensive guide walks you through what to expect from professional cabinet installers, key steps, tools involved, average costs, and expert tips to ensure proper installation every step of the way.
Step 1 – Planning Your Cabinet Installation
Careful planning is the foundation of every successful installation.
- Measurements: It starts with evaluating your kitchen layout and measuring the space with precision. Accurate measurements ensure proper cabinet height, base cabinet layout line alignment, and the ability to “dry-fit” all the base cabinets before securing anything permanently.
- Factory or Custom Cabinet Designs: You’ll then need to decide whether to go with pre-assembled cabinets or a custom cabinet design.
- Choose a Cabinet Box Style: Selecting the right cabinet box styles, such as framed cabinets or frameless cabinets, is essential, depending on your kitchen wall type and desired finish.
- Get into the Details: Make sure to also plan for filler strips, extra trim, and appliance openings.
- On an Island or Peninsula: And whether you’ll need a kitchen island or a peninsula cabinet.
Step 2 – Preparing the Kitchen Space
Professional installers begin by clearing the area, removing any old cabinets, and preparing walls and floors. This involves:
- Drywall repair or replacement where necessary
- Identifying wall stud marking and stud locations
- Using a 4-foot level or laser level to get a level reference on the wall
- Making pencil marks and layout lines to guide the cabinet positioning lines
- Ensuring the floor is level and square with straight edge tools
If needed, a band of drywall may be cut out using a utility knife to expose electric lines or plumbing for adjustment.
Step 3 – Installing Base Cabinets First
In professional kitchen cabinet installations, the base cabinets go in first. Here’s why:
- Base kitchen cabinets support countertops and must be level for a solid kitchen layout.
- Base cabinet boxes are set using a level parallel to the floor’s high point.
- Installers align the cabinet edge of each cabinet frame, starting with corner cabinets.
- They then drive screws through pre-drilled holes into wall studs, sometimes using special washer-head screws or 3-inch #10 screws or variants.
- Leveling and shimming ensure that every cabinet is in position and plumb. Remember to take into account sink, dishwasher, fridge, and stove openings if planned.
When connecting an adjacent cabinet, installers use clamps to align the cabinet fronts and drill pilot holes for cabinet screws.
Step 4 – Mounting Upper Cabinets
Next, installers move to upper wall cabinets or kitchen wall cabinets:
- Reference marks are made 18-20 inches above the countertop or the base kitchen cabinets.
- A ledger board or piece of wood provides temporary support.
- Using a drill bit, installers drill holes into wall stud lines.
- Hanging starts from the upper corner cabinet, progressing outward.
- Installers maintain consistency in spacing between upper cabinets and use a cabinet jack for support.
For accurate wall cabinet installation, cabinet plumb checks and level readings are essential.
Step 5 – Adjusting Cabinet Doors and Alignments
Once all of the new kitchen cabinets are in place:
- Cabinet drawer fronts, cabinet doors, and hinges are adjusted for smooth function.
- Cabinet hardware like knobs and pulls are installed, using mostly basic tools.
- Installers ensure no interference with appliance cabinets or neighboring cabinet access.
- Any spaces between cabinets are closed with filler pieces for a clean finish.
Step 6 – Trimming, Finishing, and Final Touches
Final steps ensure visual polish and structural integrity:
- Apply crown molding, toe kicks, and light rails using finish nails (1- to 2-inch)
- Fill gaps with caulk or wood filler
- Perform touch-up painting or finish as needed
- Wipe surfaces with a damp cloth and mild detergent
- Conduct a full inspection of all cabinet positions, alignment, and secure installation
What Tools Are Used in Cabinet Installation?
Professional cabinet installation requires an arsenal of tools:
- Standard tools: 4-foot level, drill/driver, clamps, measuring tape, pencil
- Specialized tools: Laser level, cabinet jack, miter box, drill pilot holes tools
- Fasteners: Drywall screws, cabinet screws, finish nails, 3-inch screws
- Safety gear: Gloves, goggles, and masks
Installers rely on these essential tools for a seamless process and to address potential issues quickly.
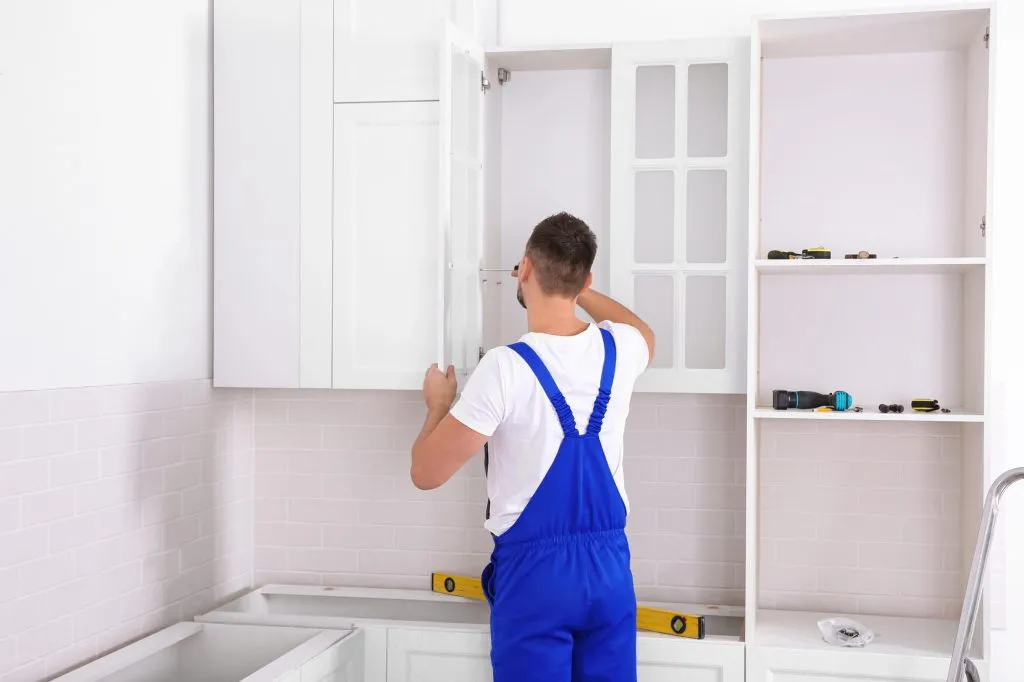
How Long Does a Basic Cabinet Installation Take?
For a standard kitchen cabinet install, the timeline ranges from 2–5 days, depending on the scope of the entire project.
Timeline Breakdown:
- Day 1: Removal and prep work
- Day 2-3: Base cabinets and wall cabinets
- Day 4: Trim and finishing
- Day 5 (if needed): Final adjustments and clean-up
Factors Influencing the Installation Timeline:
The duration of a cabinet installation project can vary depending on several essential factors.
- Number of Cabinets: The total number of base and upper cabinets needing installation directly impacts the time frame. With more cabinets, installers spend additional time measuring, leveling, and securely placing each unit in its designated spot.
- Room Shape and Layout: The architectural layout of the installation space, particularly in uniquely shaped areas like L-shaped kitchens or locations that require blind corner cabinets, affects how quickly cabinets can be installed. These shapes require extra planning and precision to ensure optimal usage and accessibility, adding time to the overall project.
- Infrastructure and Construction Conditions: Existing construction elements play a significant role in determining the timeline. For example, the presence and condition of electrical lines must be navigated carefully to avoid interference or require additional setup. The straightforward installation of appliance cabinets can be complicated by these factors as well. Additionally, the state of the drywall and the wall type can introduce unexpected hurdles that demand careful handling and sometimes additional preparation or repairs.
Kitchen Cabinet Installation Costs and What Affects Them
Kitchen cabinet installation costs typically fall between $2,500 and $8,000 or more, with several key factors influencing the final expense.
Influencing Factors:
- Material Costs: One of the most significant components of cabinet installation expenses is the material cost. Solid wood cabinets, known for their durability and classic appeal, usually come at a higher price point compared to composite cabinet materials like MDF or plywood. Choosing a material that fits both your design preferences and budget can significantly impact overall costs.
- Labor Costs: Labor costs can vary greatly depending on the location and scope of the project. In metropolitan or high-demand areas, labor rates may be higher. Additionally, the complexity and scale of the project influence labor costs. For example, intricate layouts or tall cabinets that require more detailed work can increase these expenses.
- Cabinet Types: The choice between framed cabinets and frameless cabinets also affects costs. Framed cabinets tend to be slightly more expensive due to the additional material and craftsmanship required. Similarly, opting for custom or semi custom cabinets rather than stock options can drive up the price. Custom cabinets allow for a more tailored fit to your space but come with a premium cost.
- Additional Materials: Beyond the new cabinets themselves, additional materials such as trim, screws, filler strips, and crown molding add to the total cost to install cabinets. These elements contribute not only to the functionality but also to the aesthetic finish of the installation.
Cost-Saving Tips:
- Use Pre-Assembled Cabinets: Whenever possible, opt for pre-assembled cabinets to reduce installation time and labor costs. These units save time on-site, allowing for a quicker and more straightforward installation process.
- Minimize Custom Cabinet Features: Limiting custom cabinet features can significantly cut costs. Features like intricate hardware, specialty finishes, or unique door styles add to both material and labor costs.
- Choose Standard Sizes: Selecting standard sizes for cabinets can reduce installation time and costs. Standard-sized cabinets are typically more readily available and quicker to install, reducing both material and labor expenses.
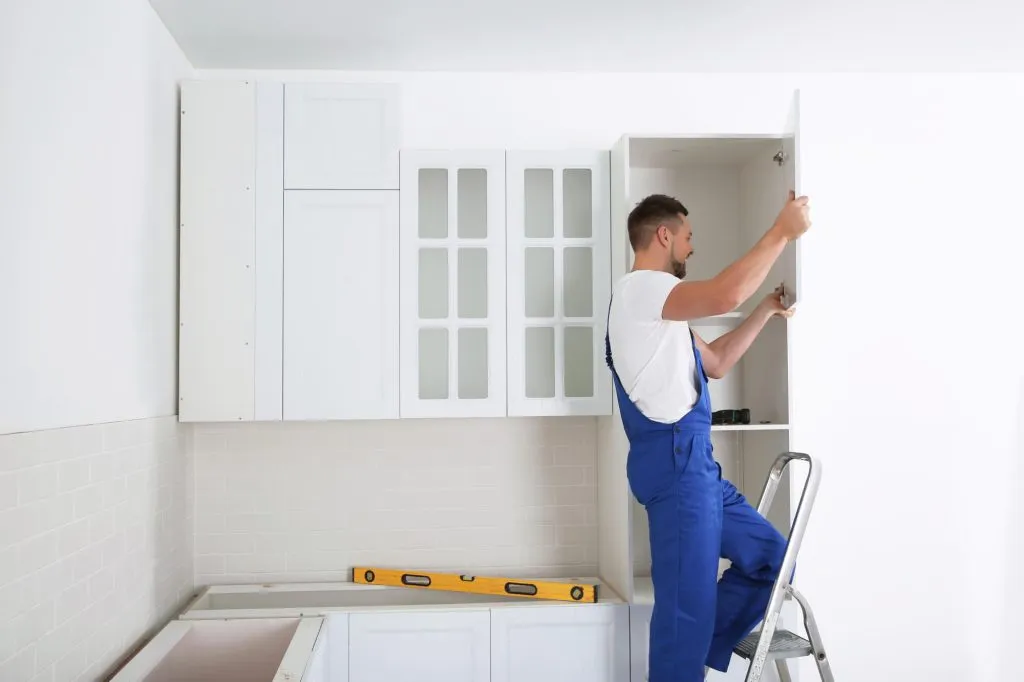
Common Challenges and How Professionals Overcome Them
Experienced cabinet installers are well-equipped to tackle a variety of potential challenges during the installation process. These challenges often include:
- Uneven Walls or Floors: It’s common for older homes or poorly constructed buildings to have uneven surfaces, which can complicate cabinet installation.
- Cabinet Box Warping: Materials may warp or twist, especially under varying humidity levels, affecting the alignment and fit of the cabinets.
- Incorrect Cabinet Positioning Lines: Misaligned guides or markers can lead to improperly positioned cabinets, affecting both functionality and aesthetics.
- Gaps with Trim or Misaligned Filler Strips: Discrepancies here can result in unsightly gaps or unfinished-looking installations.
Professionals address these issues with a combination of precise measurements, thorough planning, and their extensive experience with utilizing the appropriate tools and techniques. This ensures a smooth and professional finish to any cabinet installation project.
Is Professional Installation Worth It?
While DIY may appear cost-effective, hiring experienced cabinet installers offers:
- Precise layout alignment and finish
- Less risk of damaging drywall or misplacing cabinet screws
- Warranty protection and quality assurance
- Time-saving from start to finish
A professional install also boosts ROI on your kitchen remodel and gives peace of mind.
Getting Cabinet Installation Right
Cabinet installation is both an art and a science. From planning and prep to final placement and polish, each phase must be executed with precision.
At Cabinet IQ, we combine advanced tools, experienced project management, and thoughtful design to ensure your entire project, from the first layout line to the final filler piece, is a success.
Transform your new kitchen with expert cabinet installation from Cabinet IQ. Our custom, modular cabinetry solutions include everything from frameless kitchen wall cabinets to perfectly fitted base cabinets, upper units, and blind corners. With precision carpentry and detailed construction diagrams, we ensure every clamp, lift, and hang is executed flawlessly. Whether integrating around a dishwasher, gas line, fire extinguisher, or meter, we plan with your electrical and network needs in mind. Using techniques like French cleat mounting and recessed finishes, our team blends function and art to bring your kitchen to life—wall to floor, drawer to stand.
Book a consultation today to make your dream kitchen a reality.