How to Update Your Kitchen Cabinets on a Budget
You don’t need a full kitchen remodel or expensive upgrades to give your kitchen a fresh new look. With the right strategy, a budget kitchen cabinet makeover can dramatically enhance your space’s visual appeal, function, and value, without replacing your cabinets entirely. From adding a crisp coat of paint to updating cabinet doors or installing […]
You don’t need a full kitchen remodel or expensive upgrades to give your kitchen a fresh new look. With the right strategy, a budget kitchen cabinet makeover can dramatically enhance your space’s visual appeal, function, and value, without replacing your cabinets entirely.
From adding a crisp coat of paint to updating cabinet doors or installing cabinet lighting, even small upgrades can deliver big results. Whether you’re dealing with dated finishes, signs of wear and tear, aged appearance, or just want a change, refreshing your kitchen cabinets is a practical, budget-friendly way to breathe new life into your kitchen.
This step-by-step guide will walk you through actionable ideas to transform your kitchen cabinetry, from cabinet refacing to crown molding, cabinet hardware options, and more, giving your space a fresh perspective without the cost of custom kitchen cabinets.
Why Would You Need a Budget Kitchen Cabinet Makeover?
Cabinets are the visual anchor of your kitchen, taking up more wall and floor space than any other design element. That’s why even modest updates to your kitchen cabinetry can deliver outsized returns in terms of aesthetics, organization, and resale value.
A budget-friendly kitchen cabinet makeover allows homeowners to achieve a high-end appearance without committing to a full kitchen renovation. If your cabinet boxes are structurally sound, there’s no need to replace them entirely. You’ll only need a cabinet refacing project like applying a fresh coat of durable cabinet paint or swapping out cabinet hardware for a completely different look, all while staying within budget.
More importantly, this approach offers flexibility. You can focus on upgrading upper cabinets only, add cabinet crown molding to elevate the design, or brighten the space with cabinet lights. Whether you’re planning to stage your home, enhance a compact space, or simply want to fall back in love with your kitchen, these affordable steps make it possible, one coat of paint at a time.
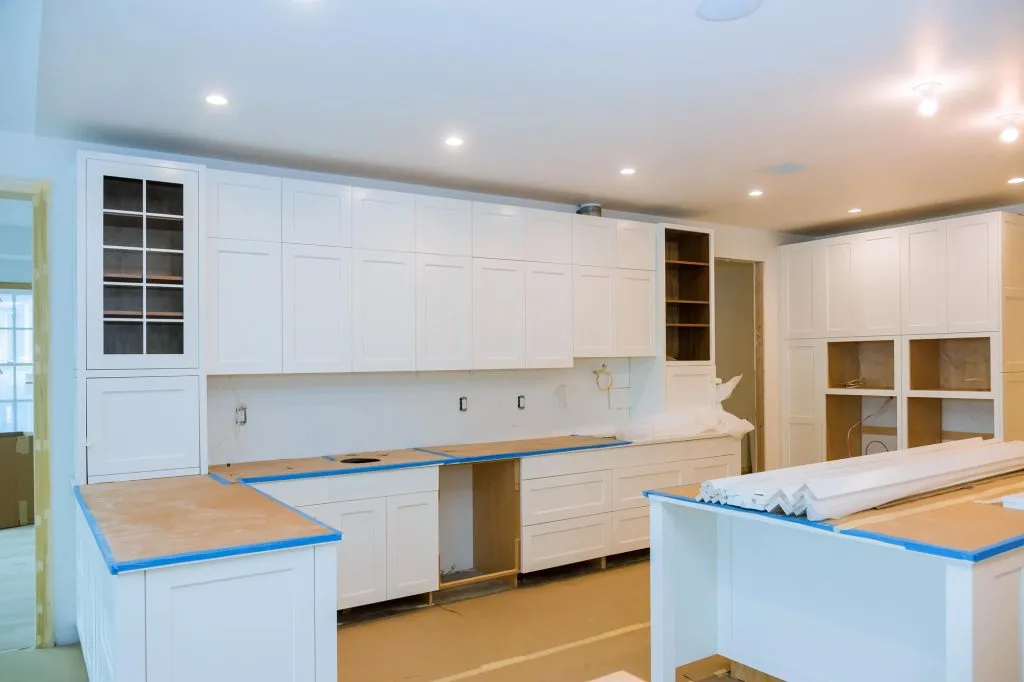
Step-by-Step Guide to Remodeling Cabinets on a Budget
Making over your kitchen cabinets doesn’t require tearing everything out. With a bit of elbow grease and attention to design details, you can upgrade what you already have.
Here’s a practical, step-by-step guide to achieve a beautiful kitchen cabinet makeover—without overspending.
Step 1 – Evaluate Your Existing Cabinets
Before picking up a paint color or shopping for new hardware, take stock of what you’re working with. Are your current cabinets solid wood or laminate? Are the cabinet doors warped, or are the cabinet boxes in good condition?
If your existing cabinetry is stable and functional, you likely don’t need brand-new cabinets. In fact, many budget-friendly cabinet upgrades start with reusing current cabinets and focusing only on visible surfaces like cabinet doors, drawer fronts, and cabinet tops. Check for loose hinges, damaged finishes, and cabinet sizes to identify what needs replacing and what can be refreshed.
This evaluation stage sets the tone for everything that follows, helping you decide whether your project leans more toward cabinet refacing, painting, or a full reconfiguration.
Step 2 – Refresh with a Fresh Coat of Paint
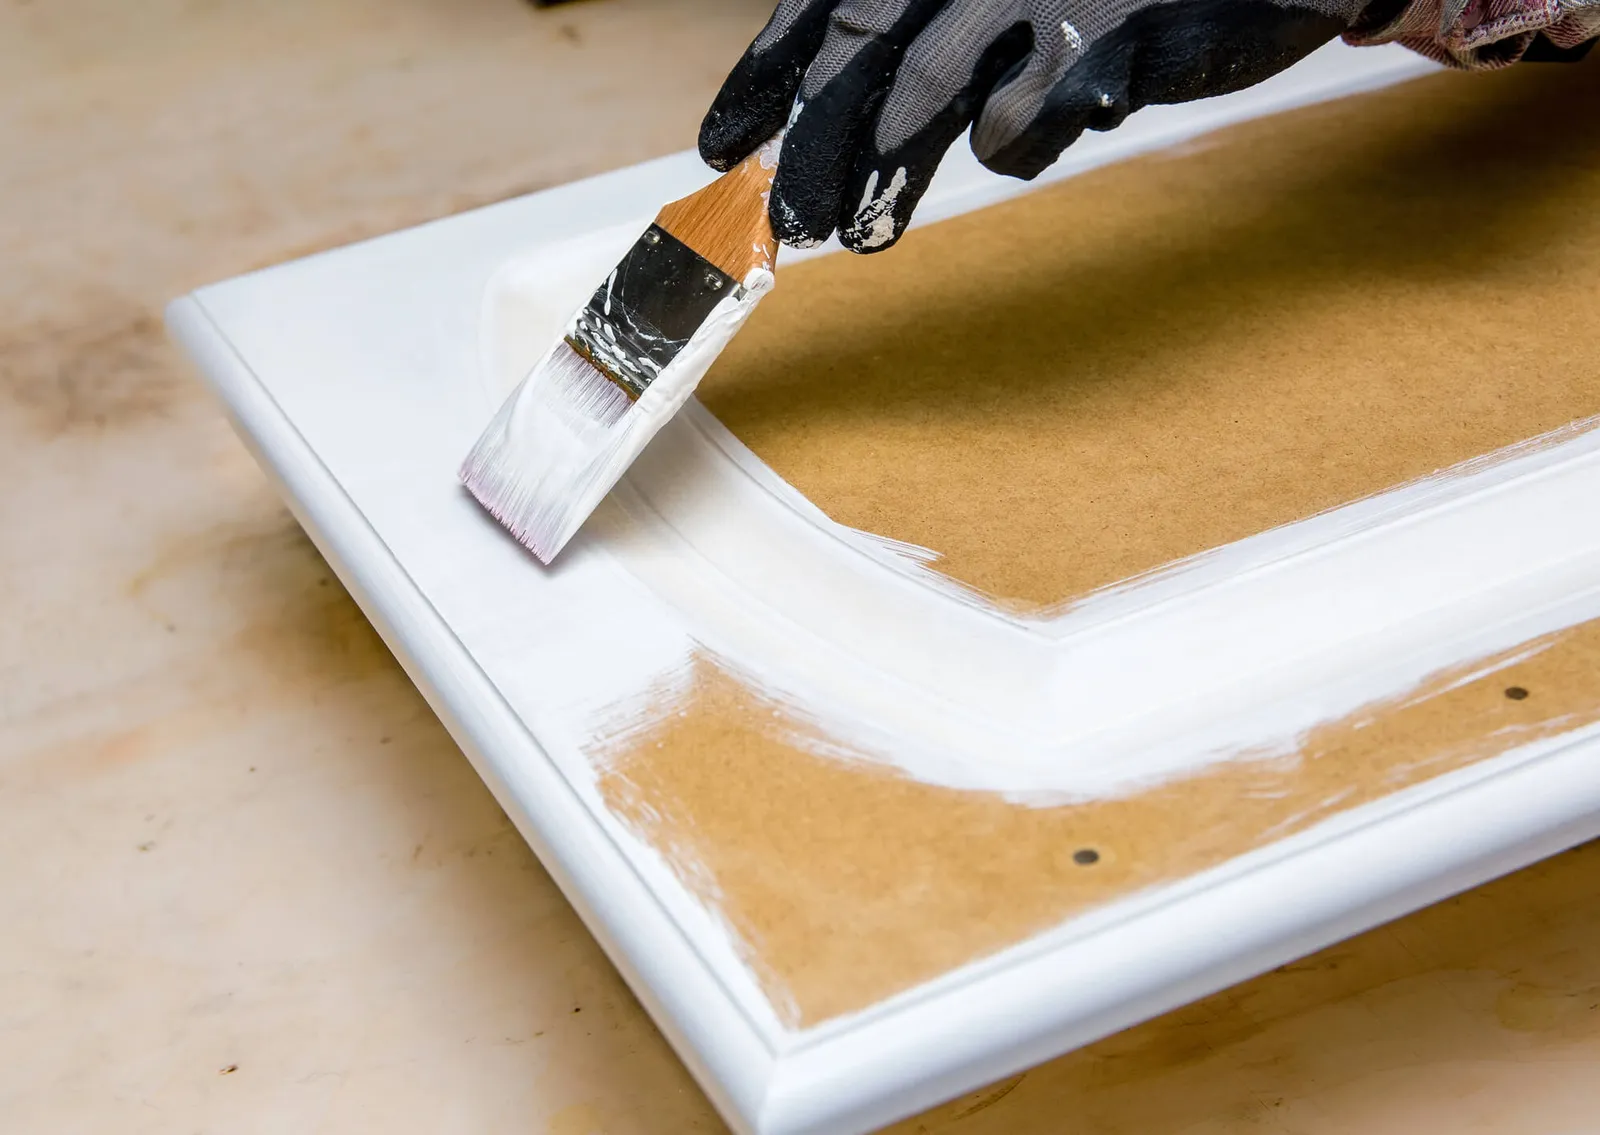
One of the most transformative and cost-effective kitchen upgrades is applying a fresh coat of paint. Whether you choose to make your cabinets white, go bold with colorful cabinets, or opt for a darker design like black on base cabinets, the visual impact is immediate.
For best results, clean surfaces thoroughly, apply a primer, and use a durable cabinet paint designed for high-traffic areas. Don’t forget the base coat, as it ensures better coverage and a more polished finish. A simple coat of paint can make old cabinets look brand new and introduce color to cream cabinetry or brighten a darker kitchen.
If you’re a DIYer, look into cabinet painting kits that include brushes, rollers, and base coat formulas. They’re a great value and make the process much more manageable, even for beginners.
Step 3 – Replace or Reface Cabinet Doors Only
If your cabinet boxes are in good shape but the doors are dated or damaged, consider cabinet refacing. This approach involves replacing just the cabinet doors and drawer fronts while keeping the original framework intact. It’s a fraction of the cost of installing custom cabinets but offers a dramatic design upgrade.
There are plenty of budget-friendly options for refacing, including:
- Flat-front cabinet doors for a sleek, modern kitchen look
- Glass-front cabinet doors or glass door panels cabinets for added elegance
- Decorative gold-toned cabinet pulls to match updated styles
Cabinet refacing material ranges from veneer and thermofoil to solid wood, depending on your budget and design preferences. Whether you’re aiming for colorful cabinets, a two-tone cabinet combo, or a more subtle design, changing just the doors is a smart way to refresh your kitchen cabinetry with minimal disruption.
If you’re feeling creative, you can even mix and match styles, like replacing upper cabinets with open shelving or glass panels while keeping base cabinets solid and practical.
Step 4 – Update Cabinet Hardware
Swapping out old knobs, pulls, and hinges is one of the simplest ways to elevate your kitchen’s appearance. Cabinet hardware options today come in a wide range of finishes—from matte black to brushed brass—and styles that suit any architectural design, from farmhouse to modern minimalist.
Updating your hardware can dramatically change the mood of the room. Try:
- Cabinet hardware with sleek lines for a more contemporary feel
- Decorative pulls for a traditional or vintage vibe
- Mixed metals, if you want to add dimension and contrast
Hardware upgrades also offer a chance to enhance function. Larger pulls can improve accessibility, while soft-close hinges and glides add a touch of luxury to base cabinets and drawers.
Even on a tight budget, this small change packs a lot of visual impact, and when combined with a fresh coat of paint or cabinet lighting, it completes the transformation.
Step 5 – Add Cabinet Lighting
Cabinet lighting doesn’t just brighten your kitchen; it enhances depth, improves visibility, and elevates the overall mood. Fortunately, you don’t need a full electrical overhaul to add beautiful, functional light to your kitchen cabinetry.
Some affordable cabinet lighting upgrades include:
- Puck lights: Easy-to-install, battery-operated discs that mount beneath upper cabinets or inside glass-front vintage cabinets
- Rope lights: Flexible LED strands ideal for lining the top of wall cabinets or highlighting crown molding
- LED strip lighting: Adhesive-backed and dimmable, perfect for under-cabinet use or illuminating cabinet tops
These cabinet accent lights can create a dramatic nighttime glow or simply improve task lighting in a compact space. Many options come with remote controls or motion sensors, making them a smart upgrade for both design and utility.
Whether you’re enhancing cabinetry with LED for ambience or just spotlighting your kitchen island or countertops, lighting is one of the most budget-friendly ways to achieve a high-end appearance.
Step 6 – Install Crown Molding or Trim Accents
Adding crown molding or trim to your kitchen cabinets is a subtle yet powerful way to elevate their design, especially if you’re aiming for a more finished, custom look without the cost of custom kitchen cabinets.
Cabinet crown molding sits atop upper cabinets, helping them reach the ceiling visually while adding architectural definition. It’s particularly effective in older kitchens where cabinets stop short of the ceiling, leaving an awkward gap.
Budget-friendly tips:
- Use pre-finished or semi-finished cabinets and add molding for a high-end effect
- Paint molding in a matching or complementary tone for cohesion
- Install corner blocks or rosettes to simplify cuts and enhance detail
This step doesn’t require a large investment, but it makes a big impact on the cabinetry’s overall appearance, especially when paired with a new coat of paint and updated cabinet hardware.
Step 7 – Consider a Backsplash to Elevate the Entire Look
A new backsplash can do wonders for your kitchen’s aesthetic, especially when paired with a freshly updated set of cabinets. While not technically part of your cabinetry, a backsplash serves as a design bridge between your countertops, walls, and kitchen cabinetry, tying everything together.
Affordable backsplash options include:
- Peel-and-stick tiles for a quick, no-grout installation
- Faux granite countertop and backsplash kits for a cohesive look on a tight budget
- Subway tiles and tile remnants for DIYers looking for a crisp, timeless upgrade
- Black backsplash for a high-contrast look in kitchens with white cabinetry or light wall colors
This is also a chance to express creativity. Whether you’re matching your backsplash to the color of cream cabinetry or creating contrast against green base cabinets or black base cabinets, the right backsplash will enhance the visual appeal of the entire room.
Consider extending the backsplash from countertop to ceiling behind your range or sink wall for a designer-level impact, without the designer price tag.
Step 8 – Upgrade Fixtures and Furniture
Some of the most impactful kitchen upgrades aren’t built into your cabinets at all. Swapping out dated fixtures and worn furniture pieces can help refresh the entire kitchen before you even touch the cabinet boxes.
- Faucets: Start with the faucet. A new fixture can modernize your sink area and complement the finish of your cabinet hardware. Look for sleek, high-arc models or brushed gold tones for a subtle accent that matches other design elements.
- Stools: Next, take a look at your furniture. Replacing worn stools at the kitchen island or getting new chairs for your dining table can transform your kitchen’s functionality and aesthetic. Choose pieces that echo the colors, materials, or lines found in your cabinet doors, crown molding, or cabinet lighting.
Even in a compact space, these furniture and fixture updates can unify your design choices and round out a complete kitchen makeover without requiring major construction or costly changes.
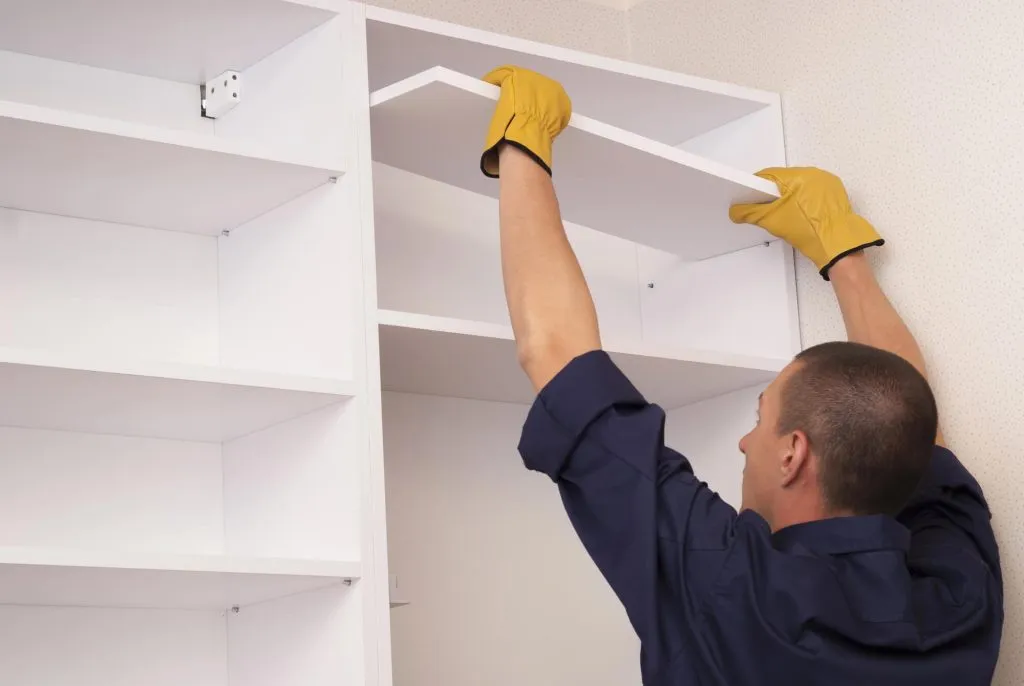
Budget-Friendly Materials and Finishes to Consider
When planning a low-cost kitchen cabinet makeover, the right materials and finishes are key to stretching your investment. With thoughtful selection, you can achieve a polished, high-end look using accessible, cost-effective components.
Smart Material Alternatives
- Laminate and thermofoil doors: Affordable alternatives to solid wood, these offer a clean appearance and easy maintenance.
- Stock cabinets or box cabinets: Readily available and far more affordable than custom options. Consider them if your existing cabinets are beyond saving.
- MDF or veneer-faced panels: Useful for cabinet refacing projects and can mimic the look of more expensive materials.
Finishes That Last
A good finish doesn’t just look nice, but it also protects your cabinets from wear. Look for:
- Durable cabinet paint that resists scratches and grease
- Semi-gloss or satin sheens for easy cleaning
- Paint color options that pair well with your countertops or flooring upgrade
You can also apply multiple coats to increase longevity, especially when dealing with high-use base cabinets or drawers. Just don’t skip the primer or base coat, which ensures adhesion and color accuracy.
Other Tips to Maximize Impact in Small Kitchen Spaces
Smaller kitchens present both a challenge and an opportunity. With the right design decisions, a compact space can feel open, bright, and stylish, even with a modest budget.
Use Light to Your Advantage
Light colors and reflective surfaces can make a tight kitchen feel much larger. Consider:
- Painting upper cabinets in a crisp white or soft neutral
- Installing cabinet lighting or cabinet accent lights to add depth and visibility
- Using light-reflective finishes on cabinet doors or glass-front cabinets to break up visual heaviness
Cabinetry with LED lighting or puck lights can subtly brighten shadowy corners, while under-cabinet rope lights enhance both function and ambience.
Prioritize Vertical Storage
Maximize wall space with tall upper cabinets or open shelving above existing cabinetry. Crown molding adds height and polish, while clever cabinet storage ideas like pull-out shelves or stackable inserts help you get more out of every square inch.
If possible, extend cabinetry to the ceiling to avoid dead space. This creates a more cohesive and architectural design while increasing usable storage.
Choose Streamlined Fixtures and Furniture
In compact kitchens, large furniture pieces or bulky decor can overwhelm the space. Instead:
- Opt for slim, modern stools at your kitchen island
- Use a small butcher block island as a multi-functional prep table
- Select hardware with a minimalist profile to reduce visual clutter
Focus on light, scale, and strategic storage, so even a small kitchen can achieve a big visual upgrade.
When to Call in the Pros
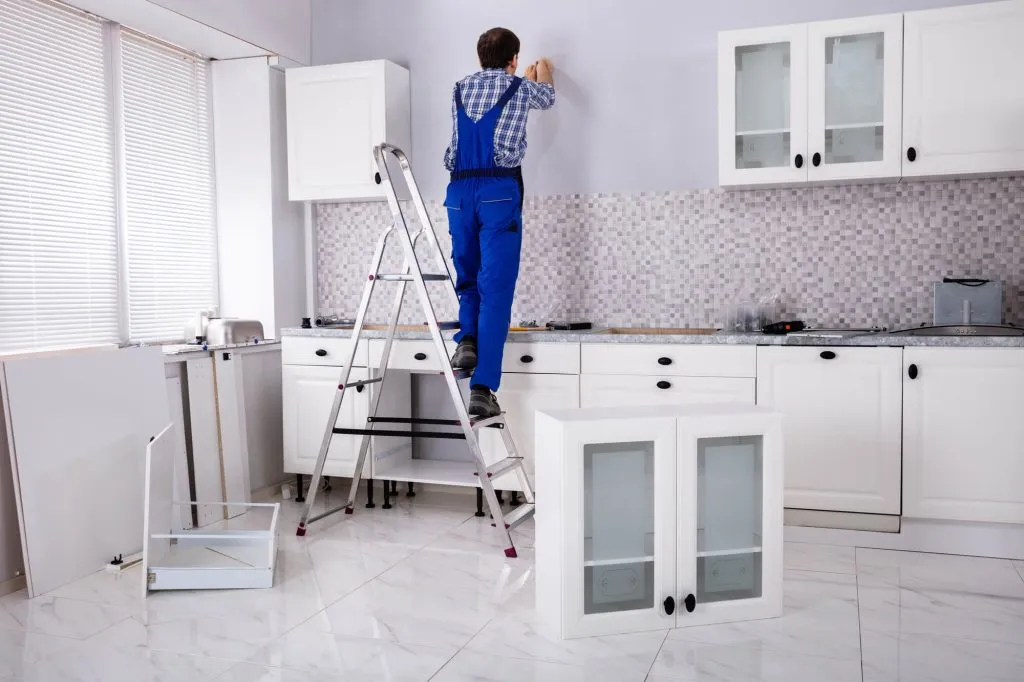
While many aspects of a budget kitchen cabinet makeover can be DIY-friendly, some upgrades benefit from professional experience, especially when precision and long-term durability matter.
Complex Installations and Custom Fit
If you’re working with uneven walls, corner cabinet peacock layouts, or non-standard cabinet sizes like a 33-inch-wide base cabinet, professional installers can ensure everything fits correctly. Misaligned cabinet doors or ill-fitting crown molding can quickly undermine your design efforts.
Pros can also help with:
- Seamless cabinet refacing projects
- Accurate cabinet lighting installation with hardwiring
- Retrofitting additional cabinets or building around appliances
Finish Quality and Durability
A coat of paint can make a big impact, but only if it’s properly applied. Design professionals or experienced painters can deliver smoother finishes, stronger adhesion, and better results, especially when using premium materials like durable cabinet paint or tackling large surface areas.
Expert Design Advice
Sometimes the hardest part of a kitchen makeover is knowing what to do first. A professional can offer guidance on:
- Matching finishes with the flooring and countertop
- Creating a two-tone cabinet combo that suits your lighting and space
- Avoiding expensive inset kitchen cabinet mistakes or unnecessary upgrades
Companies like Cabinet IQ specialize in balancing budget constraints with design preferences, offering carefully chosen high-end upgrades where they matter most and cost-effective solutions where they make the biggest difference.
Cabinet IQ Helps Bridge Gap Between Budgets and Style
Updating your kitchen cabinetry doesn’t have to drain your savings or involve a full renovation. With a smart approach and the right materials, you can achieve a stylish, high-functioning kitchen makeover that enhances both everyday living and long-term value.
From applying a fresh coat of paint and upgrading cabinet hardware to installing cabinet lighting and refacing doors, every step brings you closer to a space that reflects your personality and design goals. Whether you’re dealing with box cabinets, colorful cabinets, or wood cabinetry with a sense of history, there’s a budget-friendly path to transformation.
And when it’s time to level up or get expert advice, Cabinet IQ is here to help you bridge budget and brilliance with thoughtful design and flawless execution.